Why Adding a Backsplash Transforms Your Kitchen
When youadd backsplash to kitchenwalls, you’re making one of the most impactful upgrades possible. This simple addition serves as both a protective barrier and a stunning focal point that can instantly transform your cooking space.
Quick Guide to Adding a Kitchen Backsplash:
- Choose your material– ceramic, glass, stone, or porcelain tiles
- Measure and calculate– add 10% extra for cuts and waste
- Prepare the wall– clean, repair, and protect surrounding areas
- Install tiles– apply adhesive, set tiles with spacers
- Grout and seal– wait 24 hours, then grout and clean
- Timeline:2-4 days for most DIY projects
As one expert notes,“A backsplash can act as a focal point in the kitchen, creating interest and balance between the other materials and elements.”Beyond aesthetics, it protects your walls from cooking splatters and can significantly boost your home’s value.
The benefits are clear:A typical backsplash project costs between $1,500-$6,000 including materials and labor, but delivers lasting protection, easy cleanup, and improved visual appeal. Whether you choose budget-friendly ceramic at $3 per square foot or luxurious marble at $70 per square foot, the investment pays dividends in both function and style.
This comprehensive guide walks you through every step of the process, from selecting the perfect material to achieving a professional finish. You’ll learn when to tackle the project yourself and when to call in the pros for complex installations.

Step 1: Planning, Designing, and Preparing for Your Backsplash
Think of this phase as laying the foundation for your kitchen’s change. Just like a great recipe needs the right ingredients prepped and ready, when youadd backsplash to kitchenwalls, success starts with thoughtful planning and preparation.
Choosing the Right Material and Design
Walking into a tile showroom can feel overwhelming – rows upon rows of beautiful options calling your name! But don’t worry, we’ll help you steer these choices with confidence.
Ceramic and porcelain tilesremain kitchen favorites for good reason. They’re tough enough to handle daily cooking chaos, come in virtually every color and pattern imaginable, and won’t break the bank. Ceramic starts around $3 per square foot, making it perfect for budget-conscious renovations. Porcelain takes durability up a notch with better water resistance – ideal if you’re a messy cook!
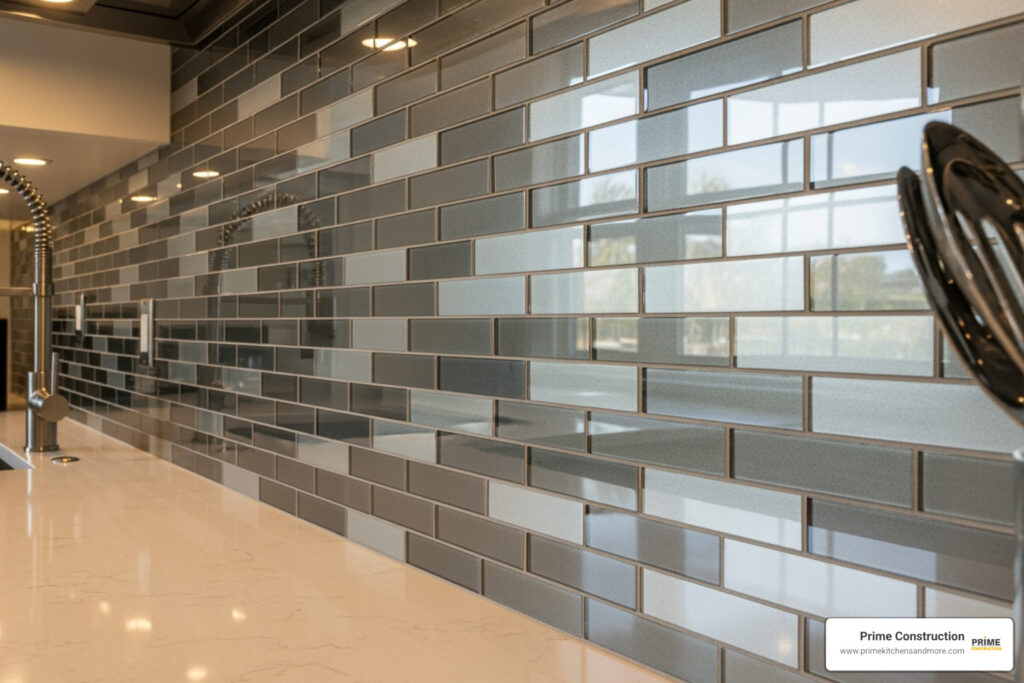
For a sleek, modern vibe,glass tilescreate magic with light. They bounce brightness around your kitchen, making smaller spaces feel larger and more open. Plus, wiping away cooking splatters becomes effortless with their smooth surface.
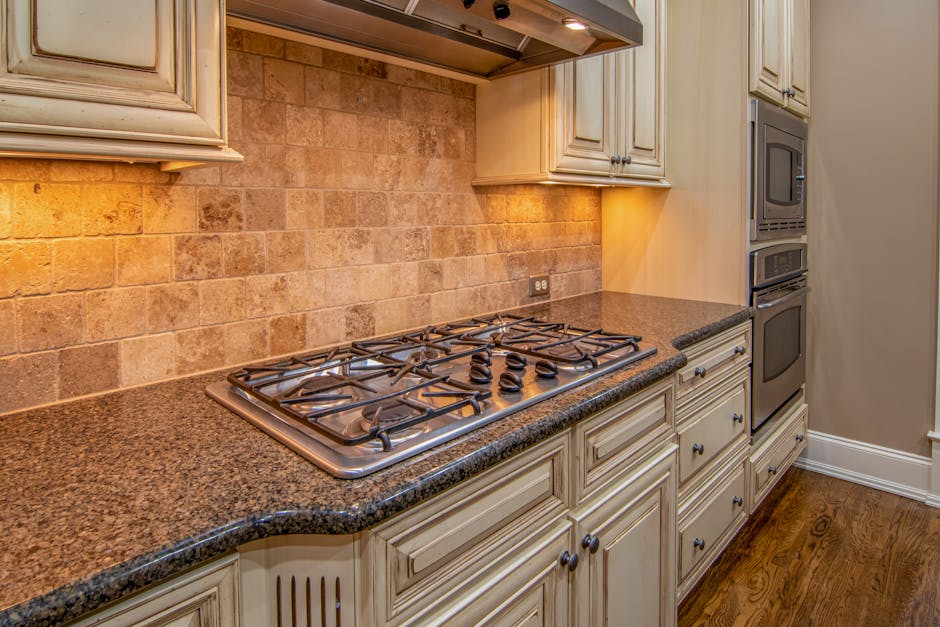
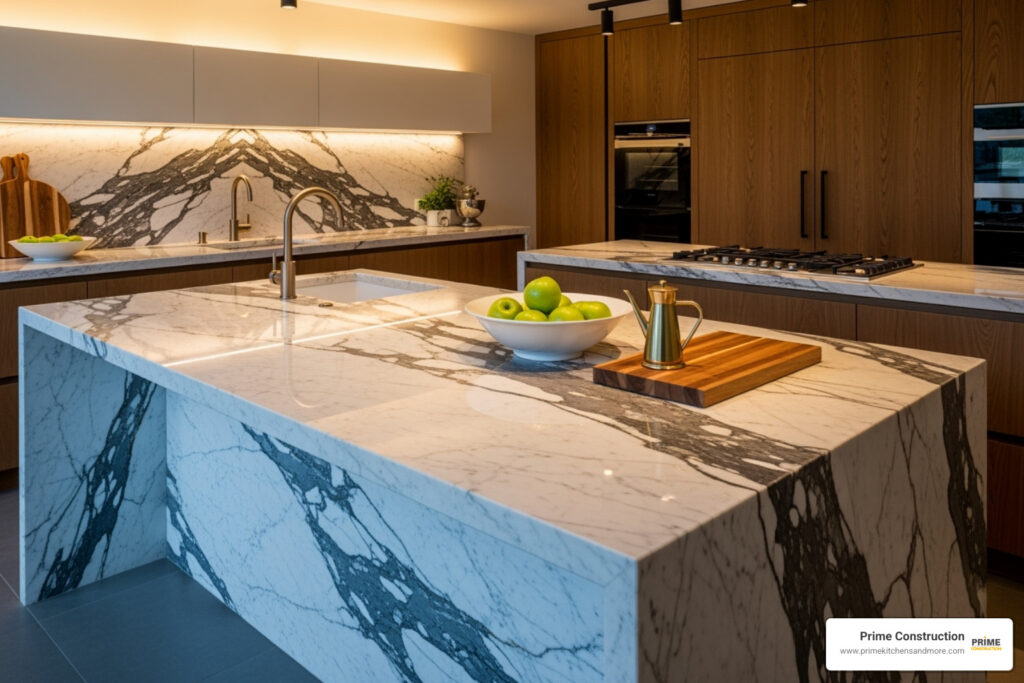
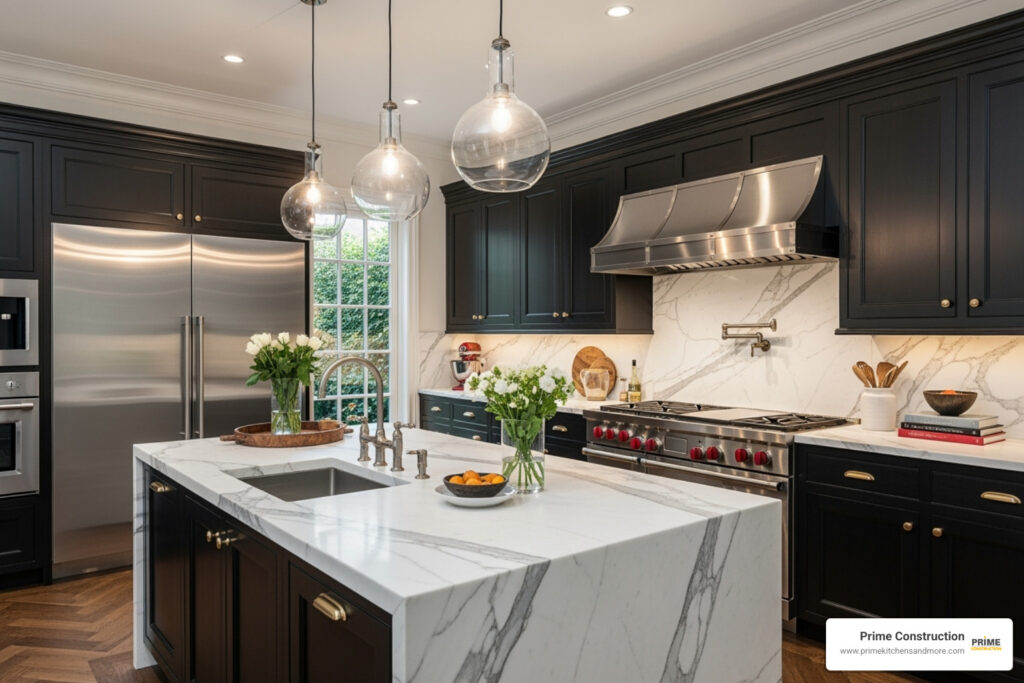
Natural stonebrings luxury and character that’s impossible to replicate. Marble offers those gorgeous veins that make each installation unique, typically running $15 per square foot for standard options, though premium varieties like blue marble can reach $70 per square foot. Natural stone needs regular sealing to stay beautiful and stain-free.
Metal backsplashes– particularly stainless steel – create that professional chef aesthetic while being practically indestructible. They’re especially smart behind cooktops where heat resistance matters most.
The secret to choosing the perfect material lies inbalancing your lifestyle with your style. Got busy kids and frequent cooking? Stick with easy-to-clean ceramics or glass. Want to make a statement? Natural stone or dramatic colored tiles can become your kitchen’s showstopper.
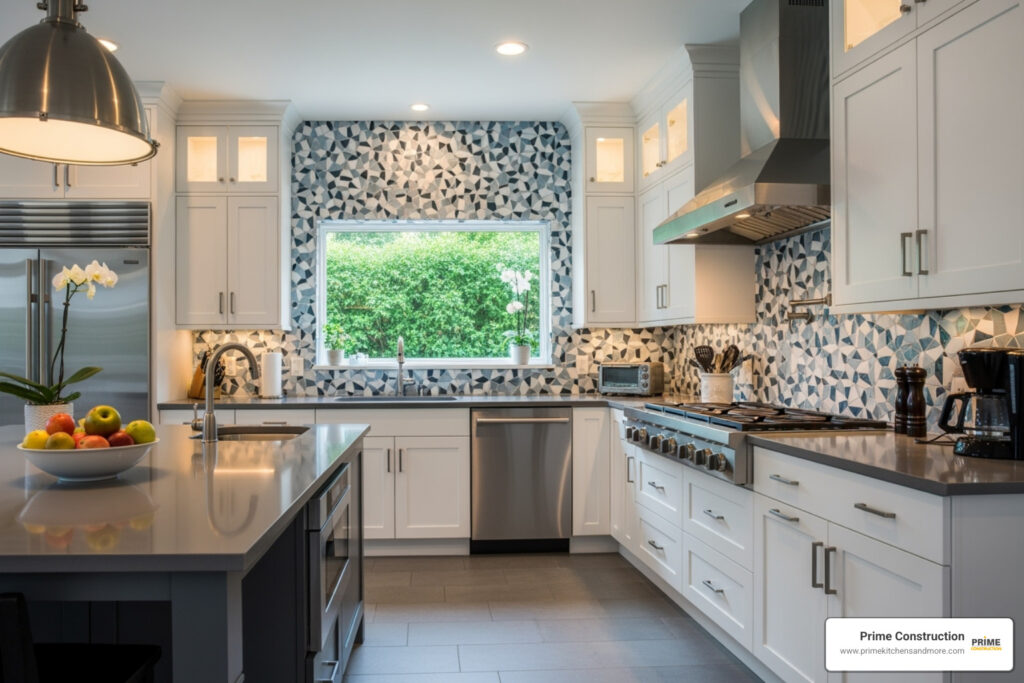
Coordinating with your existing elementsprevents design disasters. If your countertops already make a bold statement with busy patterns, choose simpler backsplash tiles that complement rather than compete. Conversely, solid-colored counters give you freedom to go wild with patterned or colorful tiles.
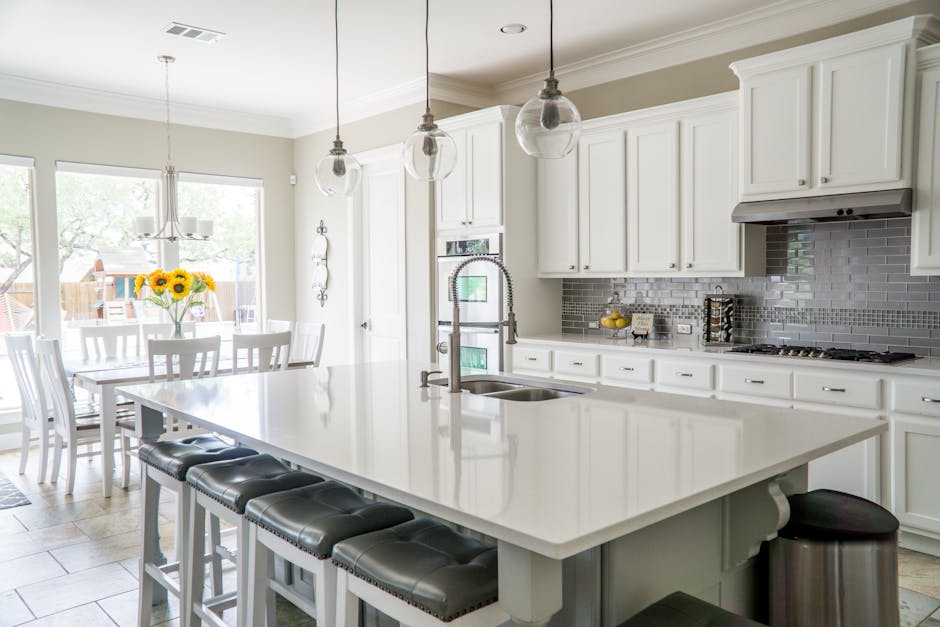
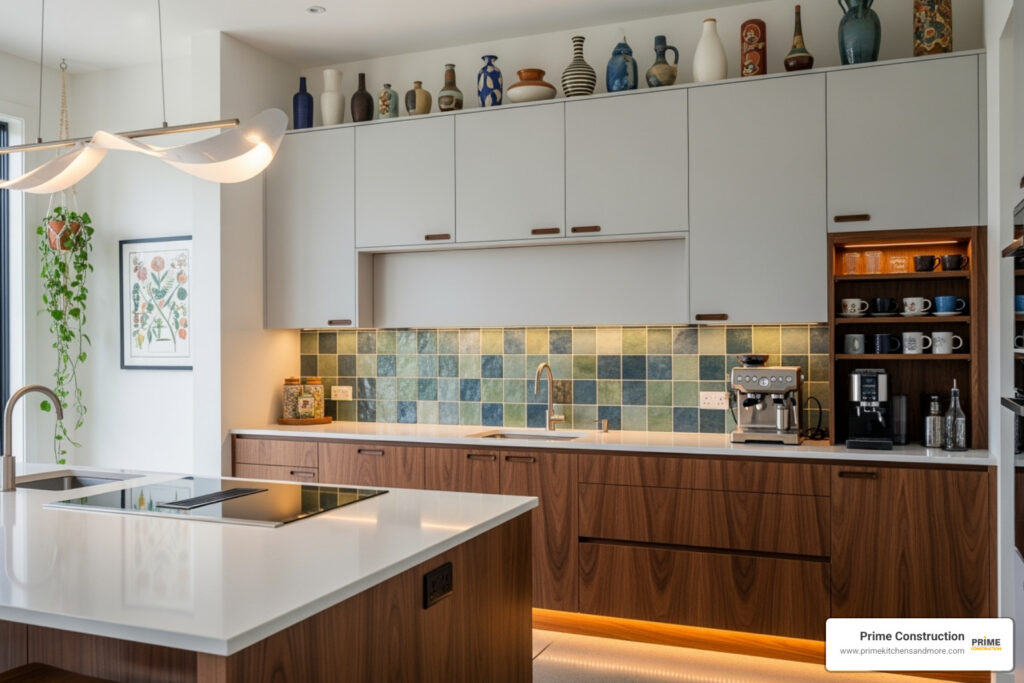
Current trends are embracingfull-height slabsthat extend your countertop material up the wall, creating seamless elegance.Handcrafted tileslike Zellige bring artisan charm, while classic subway tiles get fresh updates through creative installation patterns like herringbone or vertical stacking.
For design inspiration custom to Orlando homes, explore ourKitchen Design Inspirationgallery.
Measuring, Budgeting, and Gathering Supplies
Nobody wants to run out of tiles halfway through installation or find they’ve ordered way too much. Let’s get your measurements and budget sorted properly.
Measuring your spacestarts with a good tape measure and careful attention to detail. Measure the width and height of each wall section where you’ll install tiles. Don’t forget to subtract areas for windows or large appliances that won’t need coverage.
Here’s the golden rule:add 10% extra to your total square footage. This accounts for cutting mistakes, potential breakage, and gives you spare tiles for future repairs. Trust us – you’ll be grateful for this buffer when you accidentally drop a tile or need to match a repair years later.
Budget expectationsvary widely based on your material choices. A typical backsplash project runs$1,500 to $6,000including materials and labor. DIY installations can cut costs significantly, but factor in tool purchases if you don’t already own them.
Getting your supplies organized beforehand prevents frustrating mid-project store runs. Here is a list of essential tools and materials:
- Your chosenbacksplash tiles
- Tile adhesive(thin-set mortar is best for most applications)
- Groutin your preferred color (sanded or unsanded)
- Tile spacersfor consistent gaps
- A notched trowel
- A level
- A tile cutter or wet saw
- Grout sealer(especially for natural stone)
- Caulkfor edges and corners
- Painter’s tapeand drop cloths to protect surrounding surfaces
If financing your kitchen upgrade makes sense, check out ourKitchen Remodel Financing Guidefor helpful options.
Preparing the Wall Surface
This step might not be glamorous, but it’s absolutely critical for professional results. Think of it as creating the perfect canvas for your tile artwork.

Safety first– turn off power to your kitchen at the circuit breaker before removing outlet covers and switch plates. You’ll likely need electrical box extenders to bring outlets flush with your new tile surface.
Protecting your investmentmeans covering countertops, cabinets, and floors with drop cloths or cardboard. Secure everything with painter’s tape to prevent accidental damage.
Wall cleaningisn’t optional. Kitchen walls collect grease and grime that prevents proper tile adhesion. Use a degreaser or TSP solution to thoroughly clean all surfaces. Your tiles will thank you with years of secure attachment.
Repairing imperfectionsensures professional-looking results. Fill any holes or cracks with joint compound, let dry completely, then sand smooth. Walls with bumps or dips larger than 1/16 inch need attention – tiles won’t hide these flaws, they’ll highlight them.
For most kitchen backsplashes, clean drywall provides adequate backing. Unlike shower installations, the area behind your sink doesn’t require special cement backer board.
If your backsplash won’t rest directly on countertops, attach a temporaryledger boardto wall studs. This straight piece of lumber supports your first tile row while adhesive cures, ensuring everything stays level and aligned.
Taking time with preparation now saves headaches later and ensures your beautiful new backsplash looks professionally installed for years to come.
Step 2: The Installation Process: How to Add Backsplash to Kitchen
With preparation complete, it’s time to bring your vision to life. Follow these steps for a professional-looking installation that you’ll be proud to show off to friends and family.
Laying Out Your Tile
Think of this step as creating the roadmap for your beautiful new backsplash. Taking time here prevents headaches later and ensures everything looks perfectly balanced.
Start by finding your center point.For walls that will serve as focal points (like behind your stove or sink), measure the width and mark the center with a pencil. This gives you a reference point that creates visual balance, especially important when youadd backsplash to kitchenareas that draw the eye.
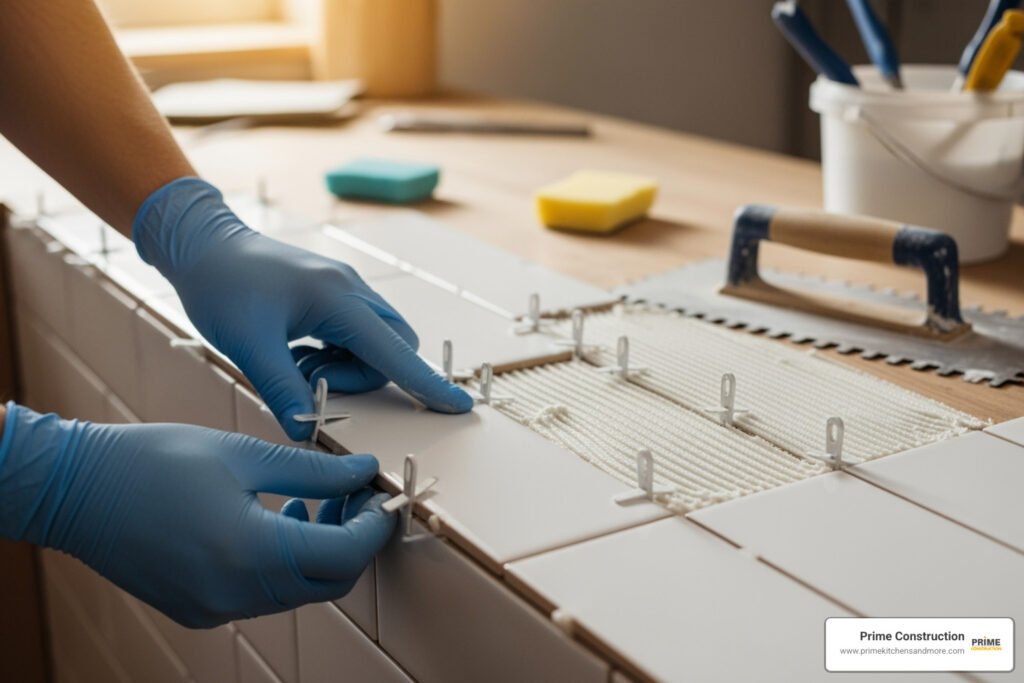
Dry-fitting your tiles is absolutely crucial– and honestly, it’s kind of fun! Lay out your tiles on the countertop below where you’ll be working. This lets you see exactly how the pattern will look and helps you spot any potential issues before you commit with adhesive. You’ll be able to see where cuts will fall and adjust your starting point if needed.
Nobody wants tiny sliver cuts at the edges – they look awkward and are tricky to install. If your dry-fit shows you’ll end up with skinny pieces, simply shift your starting point slightly to create more balanced cuts on both ends.
Use your level religiouslyduring this phase. Even if your countertops look straight, they might not be perfectly level (it happens more often than you’d think!). Mark horizontal reference lines with your pencil to keep everything aligned. If you’re installing a backsplash that doesn’t rest directly on a countertop, aledger boardattached to wall studs provides crucial temporary support for your first row.
During your layout phase, pay special attention to outlets and switches. Plan exactly where cuts will need to happen – it’s much easier to visualize this now than when you’re holding a tile covered in wet adhesive!
For complex layouts or intricate designs, ourKitchen Design Drawingservice can help you visualize the final result before you begin.
Applying Adhesive and Setting the Tile
This is where your kitchen change really starts to take shape. Working methodically and keeping a steady pace will give you professional-looking results.
Mixing your adhesive properly makes all the difference.If you’re using thin-set mortar, follow the manufacturer’s instructions exactly. The consistency should remind you of thick peanut butter – smooth enough to spread, but thick enough to hold ridges when combed with your trowel.
Work in small sections– about 2 to 3 square feet at a time. Thin-set mortar starts to skin over in 10 to 15 minutes, so only spread what you can tile in that timeframe. Use the flat side of yournotched trowelto spread a thin, even layer, then flip to the notched side and comb through at a 45-degree angle. Those ridges aren’t just for show – they help create strong adhesion and allow air to escape as you press tiles into place.
Glass tiles need special attention.Never use regular ceramic tile mastic with glass – it can cause discoloration or poor adhesion. Instead, choose a polymer-modified thin-set specifically designed for glass installations. This prevents color bleed-through and ensures your beautiful glass tiles stay looking perfect.
Setting each tile requires a gentle but firm touch.Press each piece into the adhesive with a slight twisting motion to ensure full contact.Tile spacerskeep your grout lines consistent and professional-looking. If you’re working with mosaic sheets, make sure the mesh backing doesn’t show through the grout lines.
Keep your level handy and check frequently that tiles stay straight and even. A rubber float works wonderfully for applying even pressure to mesh-backed sheets, ensuring every small tile makes good contact with the adhesive.
Clean as you go– this saves enormous time later. Immediately wipe away any adhesive that squeezes out between tiles with a damp sponge. Trust me, removing dried adhesive later is no fun at all!

Cutting Tiles for a Perfect Fit
Even the most carefully planned layout will require some tile cutting. Don’t worry – with the right tools and techniques, you can achieve clean, professional-looking cuts that fit perfectly around outlets and edges.
For straight cuts on ceramic and porcelain tiles,a manual tile cutter does the job beautifully. It scores the tile surface, then snaps it cleanly along that line. These cutters are affordable and work great for most standard tiles.
When precision matters,reach for a wet saw. This tool uses a diamond blade and continuous water flow to make smooth, accurate cuts without creating dust clouds. It’s essential for natural stone, glass tiles, or any situation where you need perfect precision – like fitting around electrical boxes.
Always wear safety glasseswhen cutting tiles, regardless of which tool you’re using. Flying tile fragments are no joke, and protecting your eyes should never be optional.
Different materials require different approaches.Glass tiles need either a wet saw with a specialized glass blade or a quality score-and-snap cutter (test a scrap piece first). Natural stone cuts best with a wet saw, though be aware that some stones are more brittle than others and may require extra care.
For small, irregular shapes – like fitting around pipes or creating curved cuts – tile nippers let you “nibble” away tiny pieces until you achieve the perfect fit. It takes patience, but the results are worth it.
Take your time with outlet cuts.These are highly visible, so measure twice and cut once. The goal is clean, professional-looking gaps that will be barely noticeable once you apply caulk around the edges.
Achieving a perfect fit around obstacles is what separates amateur work from professional results. Your patience during this step will pay off with a backsplash that looks like it was installed by experts.
Step 3: Finishing Touches, Grouting, and Sealing
The final steps are what give your backsplash a polished, durable finish. Think of this as putting the finishing touches on your masterpiece – it’s where everything comes together beautifully!
Grouting Your New Backsplash
Grouting is the satisfying final step that transforms individual tiles into a cohesive, stunning surface. It’s amazing how this simple process completely changes the look of youradd backsplash to kitchenproject.
Patience is key here.Wait a full 24 hours for your tile adhesive to dry completely before starting the grouting process. Trust me, rushing this step can compromise everything you’ve worked so hard to achieve. The adhesive needs this time to create a strong, lasting bond.
When you’re ready to mix your grout, aim for a consistency like thick toothpaste – smooth and spreadable, but not runny.Choose sanded grout for joints wider than 1/8 inchandunsanded grout for narrower spaces. The sand in sanded grout provides extra strength for wider gaps and prevents cracking over time.
Now comes the fun part! Using yourGrout float, scoop up a generous dollop of grout and hold the float at a 45-degree angle to the wall.Spread the grout diagonally across your tiles, pressing firmly to force it into all the joints. Work in manageable sections so you don’t feel overwhelmed.
After filling the joints in each section,flip your float to a 90-degree angle and scrape off excess groutfrom the tile surfaces. Move diagonally again – this technique helps clean the surface while pushing grout deeper into the joints for a professional finish.

Cleaning, Curing, and Sealing
These final steps ensure your beautiful new backsplash will stay gorgeous and easy to maintain for years to come.
The grout haze cleanup is crucial– and timing matters! After about 10-20 minutes (check your grout manufacturer’s specific instructions), you’ll notice the grout starting to set. This is your cue to gently wipe away the remaining grout haze from your tile surfaces using a damp sponge.
Rinse that sponge frequently in clean water, and be gentle – you don’t want to accidentally pull grout out of the joints. You might need to do a second or even third wipe with a clean, dry cloth after a few hours to remove any stubborn haze that appears as the grout continues curing.
Curing time varies depending on your specific grout and humidity levels– anywhere from 24 hours to three days. During this time, avoid exposing your new backsplash to water or heavy cleaning. I know it’s tempting to start cooking and splashing around your beautiful new kitchen, but patience pays off here!
Once your grout has fully cured,applying a grout sealer is especially importantif you’ve used natural stone tiles or unsanded grout. This protective barrier makes cleanup easier and prevents stains from setting in. Think of it as insurance for your investment.
Don’t forget the caulking!Apply a neat bead ofCaulkwhere your backsplash meets the countertop, cabinets, and adjacent walls. This creates a polished look and prevents water from sneaking behind your beautiful tiles. Leave about a 1/8-inch expansion gap at these junctions and fill it with flexible silicone sealant.
Finally,install any necessary electrical box extendersand replace your outlet and switch covers. Step back and admire your incredible handiwork – you’ve just transformed your kitchen!
For more detailed technical guidance on tile setting, check out our comprehensive guide onKitchen Tile Setting.
The DIY vs. Professional Decision
Deciding whether to tackle this project yourself or call in the pros is a smart consideration that many homeowners wrestle with. Both approaches have their merits, and the right choice depends on your specific situation. Here’s a breakdown to help you decide:
| Feature | DIY Installation | Professional Installation |
|---|---|---|
| Cost | Lower initial cost (materials and tools only). | Higher upfront cost (includes labor), but often includes a warranty on workmanship. |
| Time | Typically 2-4 days, including drying time. | Can often be completed in 1-2 days by an experienced team. |
| Skill Level | Suitable for those comfortable with home improvement projects and basic tools. | Recommended for complex patterns, expensive materials, or homeowners with limited time/experience. |
| Quality | Results depend on individual skill and patience. | Guarantees a high-quality, flawless finish, especially around tricky areas. |
DIY installation works beautifullyfor simpler projects with forgiving materials like ceramic subway tiles. The sense of accomplishment is a huge bonus!
Professional installation becomes invaluablewhen you’re working with expensive materials like natural stone, intricate patterns, or simply want to ensure a perfect result without the stress. Professionals, like our team at Prime Kitchens And More, bring15 years of experienceand specialized tools to handle any challenge.
Timing matters too.The ideal time toadd backsplash to kitchenwalls is after your countertops are installed but before upper cabinets go in during a remodel. If your cabinets are already in place, wait until all major construction is finished to avoid damage. Avoid starting this project if you’re planning a full kitchen remodel soon – you’d just end up replacing it anyway!
For complex projects or when you want that perfect, worry-free finish, consider working with a trusted Home Remodeling Contractor who can ensure your vision becomes reality.
Frequently Asked Questions about Adding a Kitchen Backsplash
Let’s tackle the most common questions homeowners ask when they’re ready toadd backsplash to kitchenwalls. These are the real-world concerns that come up during planning and installation.
How much extra tile do I need when I add backsplash to kitchen?
Here’s a golden rule that will save you headaches:order 10% more tile than your measurements show you need. This isn’t just playing it safe – it’s smart planning.
That extra tile covers several important bases. First, you’ll inevitably make some cuts that don’t go perfectly, especially if you’re new to tile work. Second, tiles can break during installation (it happens to pros too!). Third, and perhaps most importantly, you’ll have matching tiles for future repairs.
Trust me, trying to find an exact match for your tile two years later when one gets damaged is like searching for a needle in a haystack. Tile batches can vary slightly in color, and discontinued styles are frustratingly common. Having those extra tiles tucked away in your garage is worth its weight in gold.
When is the best time to add backsplash to kitchen during a remodel?
Timing is everything in a kitchen remodel, and your backsplash installation has a sweet spot in the process.
The ideal time is after your countertops are installed but before upper cabinets go up(if you’re replacing cabinets). This gives you plenty of workspace and ensures your backsplash sits perfectly flush against the countertop edge.
If your cabinets are staying put, wait until all the heavy construction work is done. You don’t want drywall dust settling on your beautiful new tiles or a plumber accidentally knocking something loose while working on your sink.
Here’s some friendly advice from the pros:don’t install a backsplash if you’re planning a full kitchen remodel in the near future. It’s like painting a room you’re about to tear down – you’ll likely need to remove and replace it anyway, which means you’re essentially paying twice for the same upgrade.
Can I install a new backsplash over old tiles?
This question comes up a lot, and I get why. The idea of skipping the removal step sounds appealing – less mess, less work, right?
Unfortunately,it’s not recommended, even though it’s technically possible. Here’s why tiling over existing tile usually creates more problems than it solves.
First, you’ll end up with thickness issues. Your outlets and switches will suddenly be recessed too deeply into the wall, creating an awkward, unprofessional look. The edges where your backsplash meets cabinets or countertops won’t line up properly either.
More importantly,new tiles don’t bond well to old glazed surfaces. That glossy finish on your existing tiles wasn’t designed to be an adhesive base. Over time, you might see cracking, shifting, or tiles simply falling off – definitely not the durable, long-lasting result you’re investing in.
For the best results that will stand the test of time, always remove the old tile first. Start with a clean, flat wall surface. Yes, it’s more work upfront, but you’ll get a professional-looking installation that stays beautiful for years to come.
Conclusion
Congratulations! You’ve just learned how to transform your kitchen with one of the most impactful home improvements possible. When youadd backsplash to kitchenwalls, you’re not just protecting them from splashes and spills – you’re creating a stunning focal point that adds bothstyle and valueto your home.
The journey from planning to that final wipe-down is truly rewarding. Whether you chose classic subway tiles or splurged on gorgeous marble, your new backsplash will serve you well for years to come. Every time you cook, you’ll appreciate how much easier cleanup has become, and every time guests visit, you’ll beam with pride at your beautiful kitchen.
With careful planning and the right technique, this project becomes much more manageable than many homeowners initially think. Remember the key steps: choose materials that fit your style and budget, measure twice and order that extra 10%, prep your walls thoroughly, take your time with the installation, and don’t rush the grouting process. These fundamentals will set you up for success whether you tackle it yourself or work with professionals.
For homeowners in the Orlando area who want to ensure aflawless, professional finishfor theirKitchen Remodelingproject, the experts at Prime Kitchens And More are here to help. With15 years of experiencein kitchen and bathroom design and full house remodeling, we specialize in using premium materials and delivering high-quality results that exceed expectations.
Ready to get started?Learn more about our professional backsplash installation services and get a free quote today!Your dream kitchen is just a phone call away.
