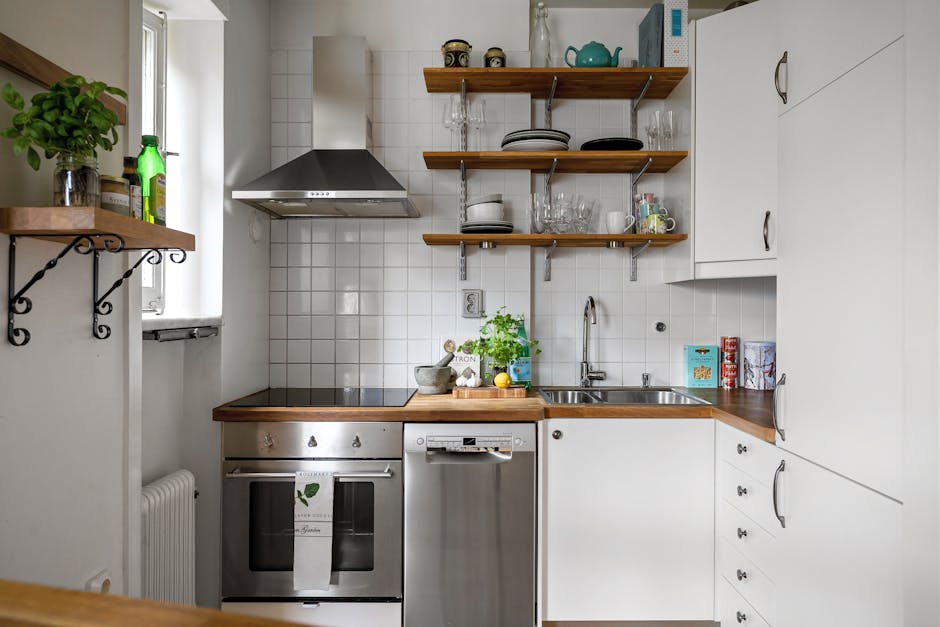

Why Setting Glass Tile Backsplash Requires Special Care
Setting glass tile backsplash transforms your kitchen with stunning visual impact but demands more precision than ceramic or porcelain tile. Unlike traditional tiles, glass is transparent and non-porous, meaning it reveals every imperfection underneath.
Quick Answer for Glass Tile Installation:
- Use white, polymer-modified thin-set – never mastic
- Back-butter every tile for 100% mortar coverage
- Prepare substrate perfectly – glass shows all flaws
- Apply unsanded grout to prevent scratching
- Allow 4-5 days cure time before grouting
Glass tile’s beauty comes with challenges. As one tiling contractor noted, “Back buttering is king. It makes a superior bond and eliminates bubbles between the tile and the thinset.” Its translucent nature means trowel ridges, air bubbles, and color variations that would be invisible with opaque tiles will be visible.
The stakes are higher with glass tile. Research shows glass tile requires bond strength greater than 400 psi—significantly more than standard ceramic. ANSI 137.2 defines large-format glass tile (over 3×3 inches) as requiring specific materials and techniques.
Your substrate must be perfectly flat, clean, and stable. Any deflection or imperfection will telegraph through the glass. The wrong adhesive can cause failures, discoloration, or tiles falling off the wall.
When done right, however, a glass tile installation creates breathtaking, lasting results. The key is understanding glass’s unique properties and following proven techniques.

Before You Begin: Planning, Tools, and Materials
Successful setting glass tile backsplash starts with careful planning and preparation. Taking time now will save you hours of frustration later.
Understanding Glass Tile Types
Not all glass tiles are the same. Understanding the differences helps you choose the right approach for your project.
Cast glass tiles have natural folds, bubbles, and creases that add character and can help hide minor wall flaws.
Fused glass tiles are created by heating glass to achieve stunning colors and patterns, offering incredible design possibilities.
Low-temperature coated tiles have a bonded backing that creates their look. This bond can be weaker than the mortar, so using the wrong adhesive may pull the coating off. Always follow manufacturer recommendations.
With mesh-mounted mosaics, be aware that some mesh adhesives break down when wet, which can lead to tile failure. Ensure your thin-set is compatible with the mesh.
Your biggest decision is between transparent and opaque tiles. Transparent tiles are unforgiving, showing every flaw underneath. Opaque tiles are more forgiving as their backing hides imperfections.
Finally, if you’re using ANSI 137.2 large-format tiles (bigger than 3×3 inches), you’ll need a special high-polymer thin-set to prevent sagging and ensure proper bonding.
Essential Tools & Safety Gear
Having the right tools makes the difference between a DIY project and a professional-looking result:
Cutting tools are crucial. You’ll need a wet saw with a diamond blade for clean cuts and glass tile nippers for curves. Safety gear is not optional: safety glasses and gloves protect from sharp edges, and a dust mask is essential for ventilation.
For installation, you’ll need a V-notched trowel (check tile specs), a rubber grout float, multiple sponges, and buckets for mixing and cleaning. A good level and tape measure ensure perfect alignment.
Glass can be unforgiving, so take your time and prioritize safety.
Choosing the Right Materials for Setting Glass Tile Backsplash
Glass tile’s unique properties demand specific materials—no shortcuts.
White, polymer-modified thin-set is essential. Gray thin-set will show through and muddy the tile color. The polymer modification provides flexibility and the superior bond strength (over 400 psi) that glass requires.
For the best results, consider two-part adhesive systems. These combine white powder with a latex liquid additive, creating the strongest, most flexible bond possible for glass tile.
Never use mastic (bucket adhesive) for glass tile. It won’t cure properly against non-porous glass and will eventually fail. Stick with proper thin-set mortar.
For grouting, unsanded grout is your only choice. Sanded grout will scratch the glass surface. Look for polymer-fortified unsanded grout for the best performance.
Don’t forget grout sealer for extra protection and color-matched caulk for expansion joints where tile meets a countertop or cabinet. These joints are essential to prevent cracking from movement.
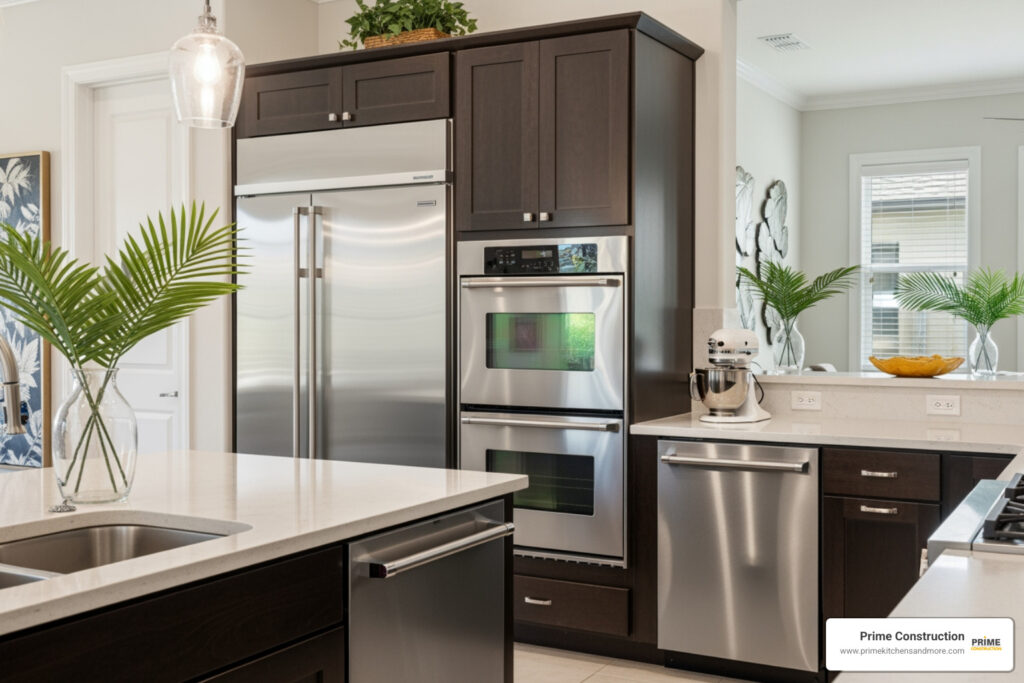
Getting the materials right sets you up for success. For more ideas on creating your perfect kitchen space, check out our custom kitchen design services.
The Step-by-Step Guide to Setting Glass Tile Backsplash
With our tools and materials ready, it’s time to install your glass tile backsplash. Following these steps will help you achieve a professional-quality finish.
Step 1: Prepare the Substrate

Substrate preparation is a step many DIYers rush, but it’s the foundation of your project. Creating a flat and stable surface is critical when setting glass tile backsplash. Unlike ceramic, glass tile reveals every bump and dip. Fill and smooth any imperfections deeper than 1/16 inch.
Start by cleaning your walls thoroughly to remove any dust, grease, or debris that could interfere with the bond.
Next, repair any imperfections. Fill holes and cracks with spackling compound. If you removed old tile, prime any damaged drywall paper to ensure consistent absorption.
Priming the surface is especially important for drywall, as it regulates porosity and improves adhesion.
Before you begin, eliminate power to any electrical outlets in your work area and remove all covers and plates.
If your wall is severely damaged, installing cement backer board provides an ideal, stable, and flat surface that’s worth the extra effort.
Pro tip: Apply a thin skim coat of thin-set to the wall the day before tiling and let it dry. This creates a uniform, neutral-colored substrate ideal for transparent tiles.
Step 2: Plan Your Layout
A well-planned layout is key to a professional, balanced look and helps avoid mistakes.
Dry-fitting your tiles on a countertop or cardboard helps you visualize the pattern and plan for cuts.
Finding the centerline is your next step. Measure the width of the backsplash area, mark the center, and use a level to draw a vertical centerline on the wall. This is your starting point for a balanced design.
Using a level, draw a horizontal line for your first row of tile. Countertops are rarely perfectly level, so you may need a temporary ledger board (a straight piece of wood) to support the first row while it cures.
Planning for cuts during the dry-fit saves headaches. Adjust your layout to avoid thin, awkward slivers of tile at the edges. Remember to account for spacers to maintain consistent grout lines.
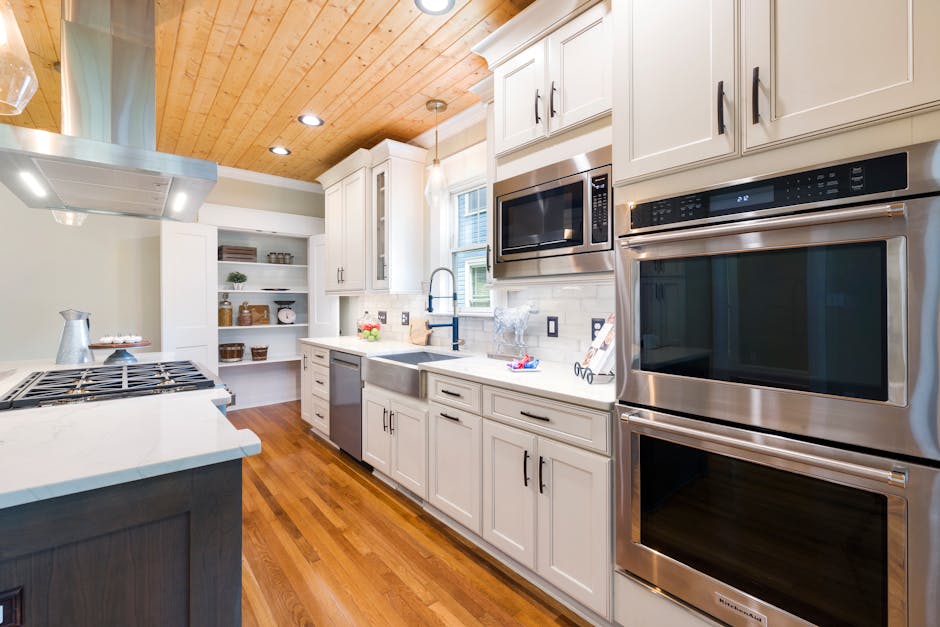
For more inspiration on incorporating your backsplash into your overall kitchen design, check out our Kitchen Design Inspiration Orlando page.
Step 3: Mix and Apply Thin-Set Mortar

Getting the right thin-set consistency is crucial. Your goal is a smooth, lump-free mixture with a peanut butter consistency. Let it slake (rest) for 5-10 minutes as directed, then mix again.
Applying in small sections is vital, as thin-set begins to cure quickly. Only apply enough for an area you can tile in 10-15 minutes to prevent it from skinning over.
Combing straight ridges with your V-notched trowel at a 45-degree angle creates the suction and coverage needed for a strong bond.
Avoid mastic adhesive when setting glass tile backsplash. This pre-mixed adhesive needs air to cure, but non-porous glass traps moisture, leading to bond failure, discoloration, and falling tiles. Always use a high-quality, polymer-modified thin-set mortar.
Step 4: Key Techniques for Setting Glass Tile Backsplash Flawlessly
These key techniques will lift your installation from good to great.
Back-buttering each tile is essential. After applying thin-set to the wall, spread a thin, even layer on the back of each tile or sheet. This ensures 100% mortar coverage, eliminates air pockets, and creates a superior bond.
Pressing with a slight twist as you place each tile helps collapse the thin-set ridges and forces out trapped air bubbles.
Using a beating block (a flat piece of wood or a rubber float) with gentle taps helps ensure all tiles sit at the same depth and have full contact with the thin-set.
Removing excess thin-set from grout lines immediately with a utility knife or damp sponge is non-negotiable. If it dries, it’s much harder to remove.
Ensuring 100% mortar coverage prevents dark spots and air bubbles. Occasionally lift a tile to check that the back is fully covered.
These techniques will help you achieve a stunning glass tile backsplash. For more inspiring ideas and professional examples, explore these Great ideas for glass tile backsplashes.
Finishing Touches: Grouting, Sealing, and Advanced Cuts
The final steps in setting glass tile backsplash will give your project a polished, professional look and protect your work for years to come.
Step 5: Grouting and Cleaning
Grouting ties the installation together visually, but glass requires a gentler approach than ceramic.
Waiting 24-48 Hours for Cure: Patience is key. Your thin-set needs time to cure and develop full strength before you begin grouting. Most polymer-modified thin-sets need at least 24 hours, but waiting 48 hours is safer, especially in humid conditions.
Applying Unsanded Grout: To protect the glass surface, use only unsanded grout. Mix it to a smooth, frosting-like consistency. If it’s too wet, it will shrink and crack; too dry, and it won’t fill the joints properly.
Working at a 45-Degree Angle: Hold your rubber grout float at a 45-degree angle, working diagonally across the joints. This pushes grout deep into the spaces without pulling it back out. Apply firm pressure to fill the joints completely.
Cleaning Haze with a Damp Sponge: After the grout sets for 15-20 minutes, clean the surface. Use a barely damp sponge, wiping diagonally across the tiles to avoid pulling grout from the joints. Rinse the sponge often in clean water.
Buffing to a Shine: After a couple of hours, a light haze will appear. This is normal. Use a clean, dry microfiber cloth to buff the tiles to a brilliant shine. For stubborn haze, a specialized grout haze cleaner can be used.

Step 6: Sealing and Caulking
Sealing and caulking protect your investment from moisture and movement.
Sealing Grout Lines: After the grout has fully cured (24-72 hours, check product instructions), apply a quality grout sealer. This creates a barrier against moisture and stains. Use a small brush to apply sealer only to the grout lines.
Protecting from Moisture and Stains: Sealed grout resists kitchen spills like oil and tomato sauce, making cleanup much easier.
Applying Caulk at Expansion Joints: Wherever tile meets a countertop, cabinet, or changes direction, you must use caulk, not grout. These areas, or changes of plane, require flexibility that only caulk can provide. Grout will crack under movement.
Choose a high-quality, color-matched caulk and apply a smooth bead where tile meets countertop to create a waterproof, professional-looking seal.
Step 7: Special Cuts and Drilling
With the right techniques, even complex cuts are manageable.
Cutting Curves with Nippers: For curved cuts, score the tile with a glass cutter, then use nippers to “nibble” away small pieces along the line. Patience is key; take small bites to avoid cracking the tile.
Drilling Holes with a Diamond-Tip Bit: To drill holes for outlets, use a diamond-tip bit. Start by manually twisting the bit to create a divot, which prevents wandering. Drill slowly with light pressure, keeping the bit cool with water.
Polishing Cut Edges for a Factory Finish: For exposed cuts, gently polish the edges with a diamond hand pad or fine wet/dry sandpaper. A few light passes will create a smooth, professional finish.
Frequently Asked Questions about Glass Tile Installation
Here are answers to common questions about setting glass tile backsplash, based on our 15 years of experience in Orlando kitchen remodeling.
Why can’t I use regular thin-set or mastic for glass tile?
Glass tile is non-porous, so it traps moisture. Mastic adhesive needs air to dry and will fail, causing tiles to fall off. Regular gray thin-set is also problematic: its color can show through transparent tiles, and it may lack the bond strength required (over 400 psi). The correct choice is always a white, polymer-modified thin-set, which is designed for non-porous surfaces and provides a superior, lasting bond.
How do I prevent seeing trowel marks through my transparent glass tile?
Visible trowel marks are a common frustration. To prevent them, use a two-step process. First, after combing ridges into the thin-set with your notched trowel, use the flat side to gently “knock down” the peaks for a more uniform surface. Second, back-butter every tile with a thin, even layer of thin-set. This ensures 100% coverage and eliminates visible ridges and air pockets when you press the tile into place.
What is the most common mistake DIYers make when setting glass tile?
By far, the most common mistake is improper substrate preparation. Glass acts like a magnifying glass, highlighting every flaw on the wall beneath it. Bumps, dips, and debris will be visible and can compromise the bond. The wall must be perfectly flat, clean, and stable. Any unevenness will create an unprofessional finish, and instability can lead to cracked tiles. Take extra time to sand high spots, fill low spots, and thoroughly clean the surface before you begin. A perfect substrate is the foundation for a flawless glass tile installation.
Conclusion
Setting glass tile backsplash is a rewarding project that can transform your kitchen. As we’ve covered, success with glass tile requires respecting its unique properties. Using the right materials, like white polymer-modified thin-set, and employing proper techniques, such as back-buttering every tile and meticulous substrate preparation, is non-negotiable. These steps ensure a professional-quality finish that prevents common issues like visible trowel marks and air bubbles.
While a satisfying DIY project, the precision required for setting glass tile backsplash can be overwhelming. There’s no shame in recognizing when a project calls for experienced hands.
If you’re in Orlando, Winter Park, or the surrounding Central Florida communities and prefer a flawless result without the stress, our team at Prime Kitchens And More is here to help. With 15 years of experience in kitchen remodeling, we have perfected the art of glass tile installation. We use premium materials and the expert techniques shared in this guide to guarantee a stunning, durable finish.
Sometimes, the best decision is to call in the pros. For a flawless, professional result that lets you enjoy the process instead of worry about it, consider letting our team handle the intricate work. Get a free estimate for your backsplash installation in Orlando and let us bring your vision to life.