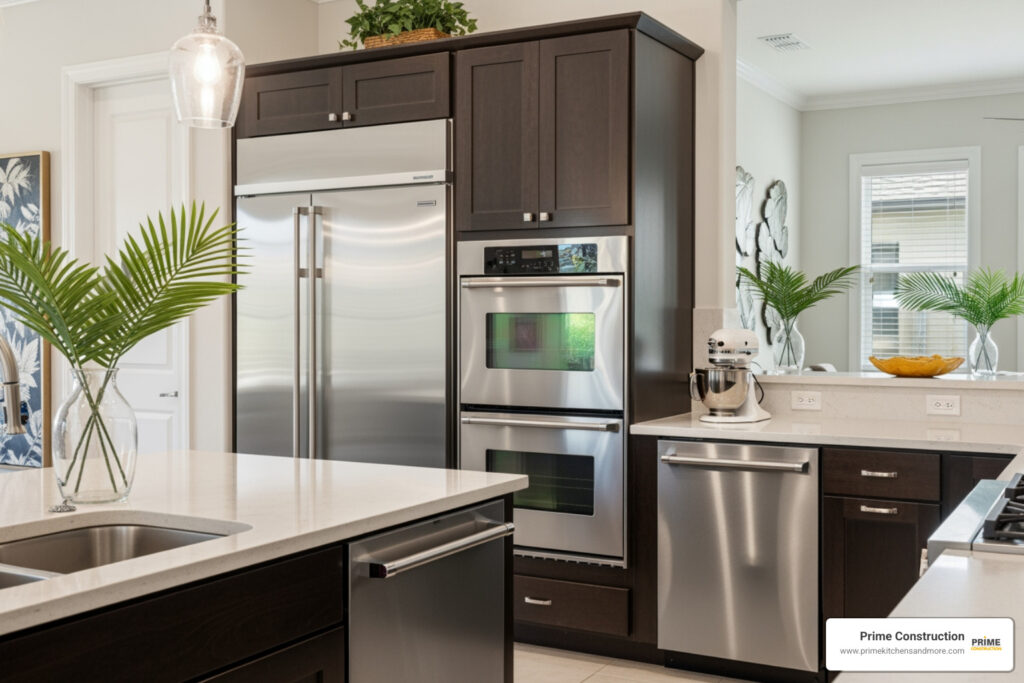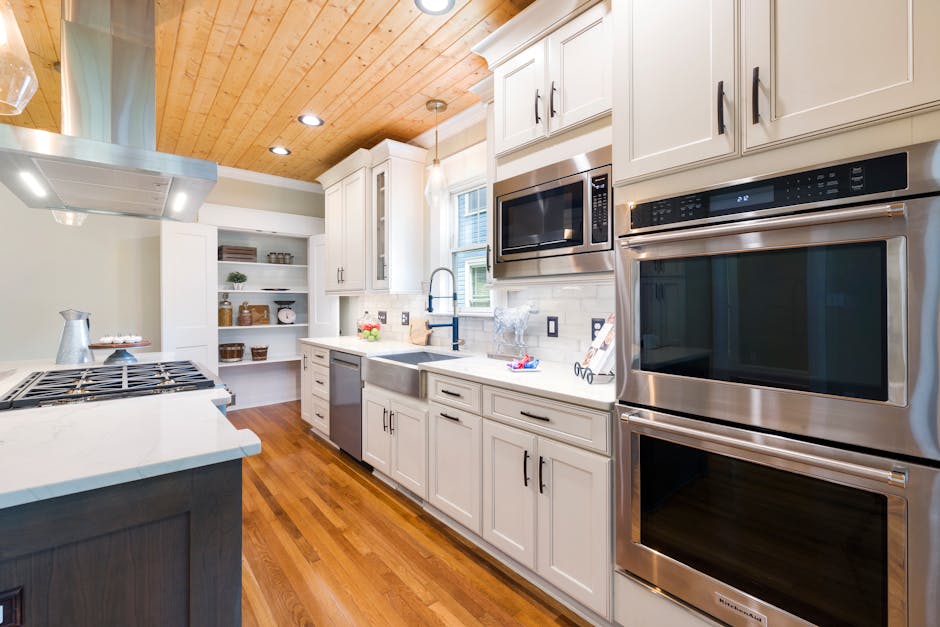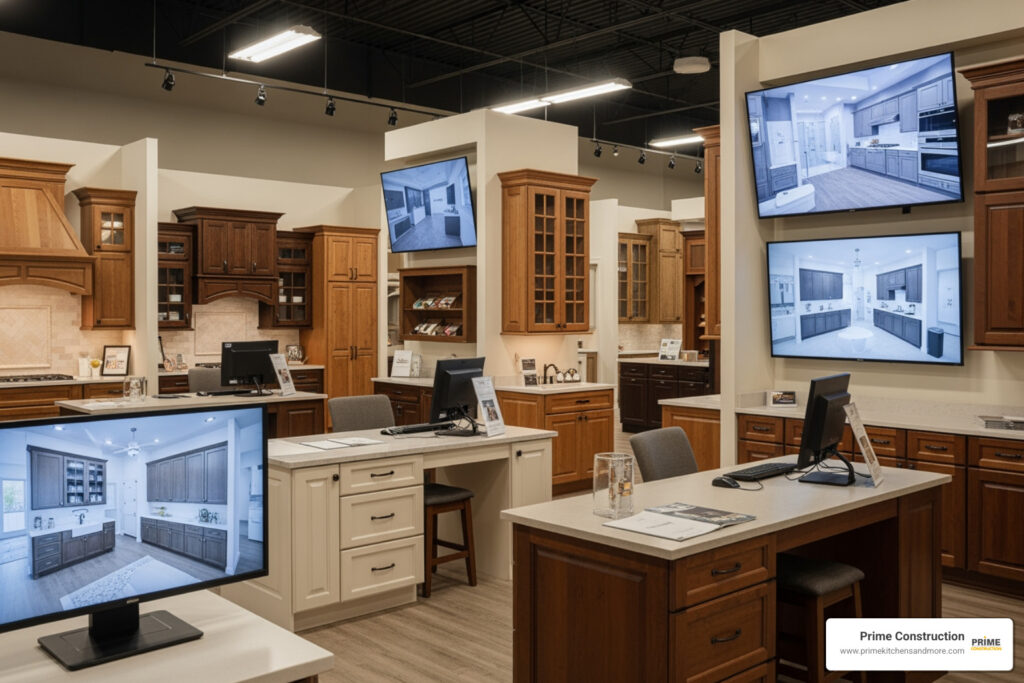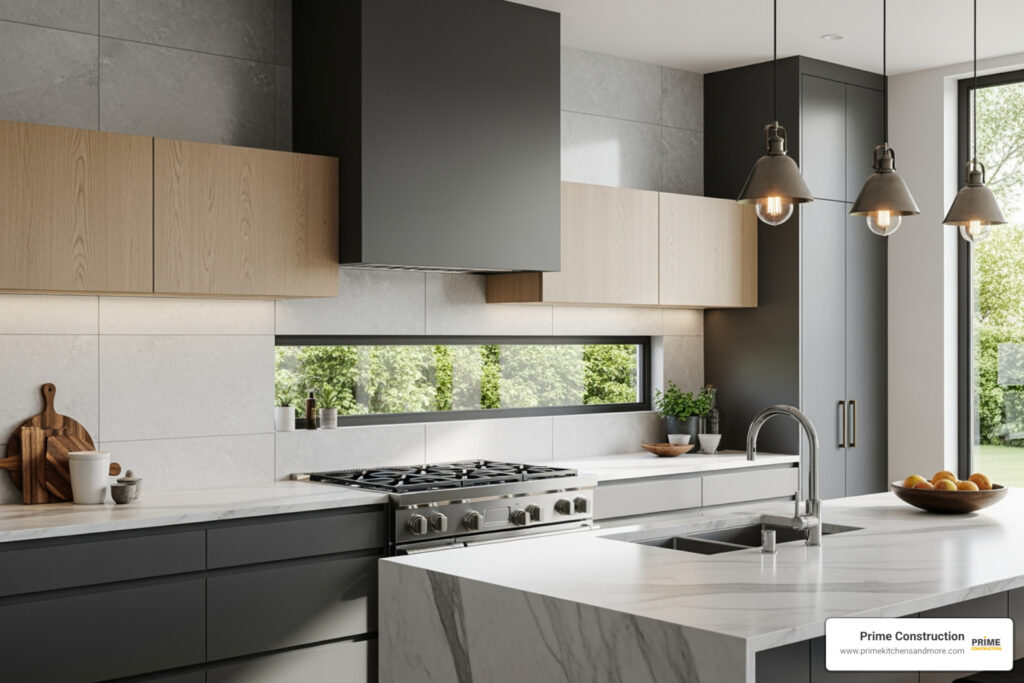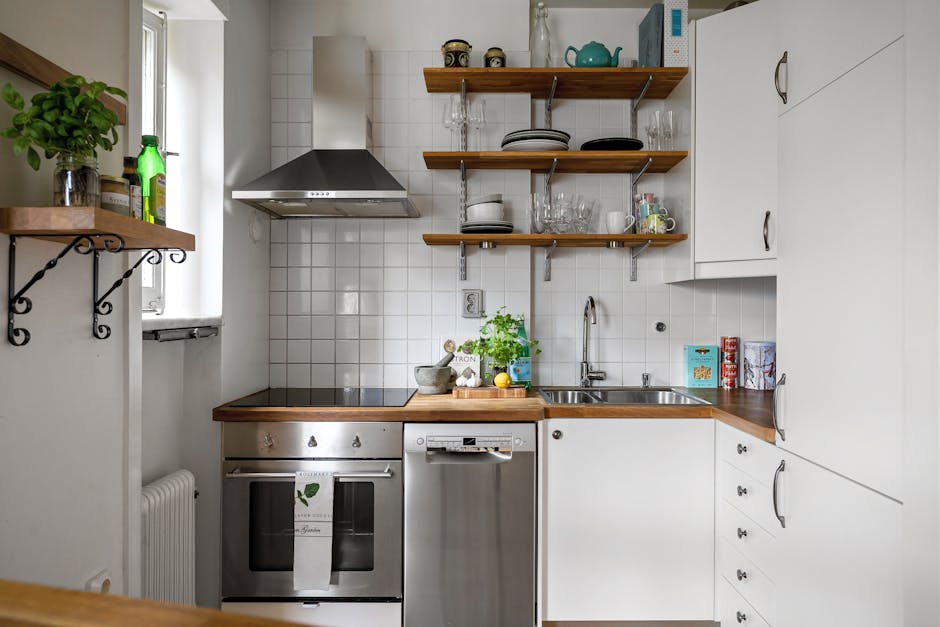

Why Building Custom Cabinets is the Smart Choice for Orlando Homeowners
Building custom cabinets offers homeowners significant cost savings and complete control over their kitchen design. Here’s what you need to know:
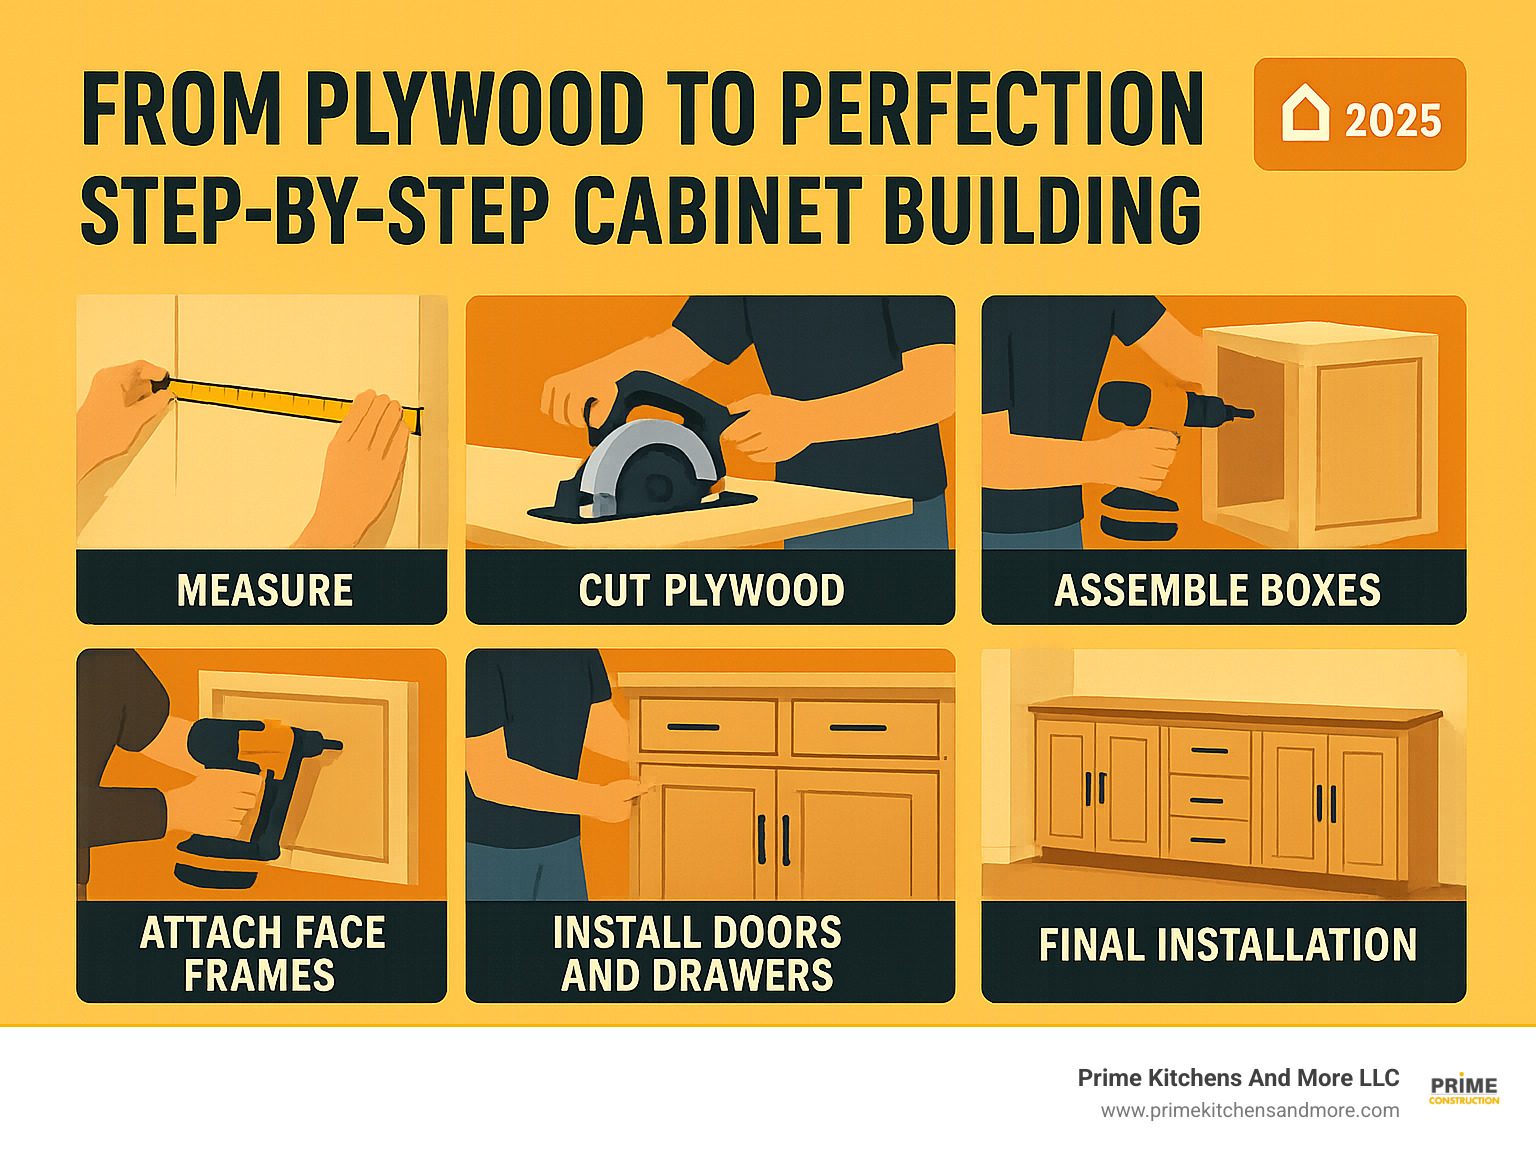
Essential Steps:
- Plan and measure your space accurately
- Choose materials – 3/4″ plywood for boxes, hardwood for face frames
- Select joinery method – pocket holes are fastest for DIYers
- Build cabinet boxes first, then add face frames
- Make doors and drawers to fit your exact measurements
- Install hardware and mount cabinets level to walls
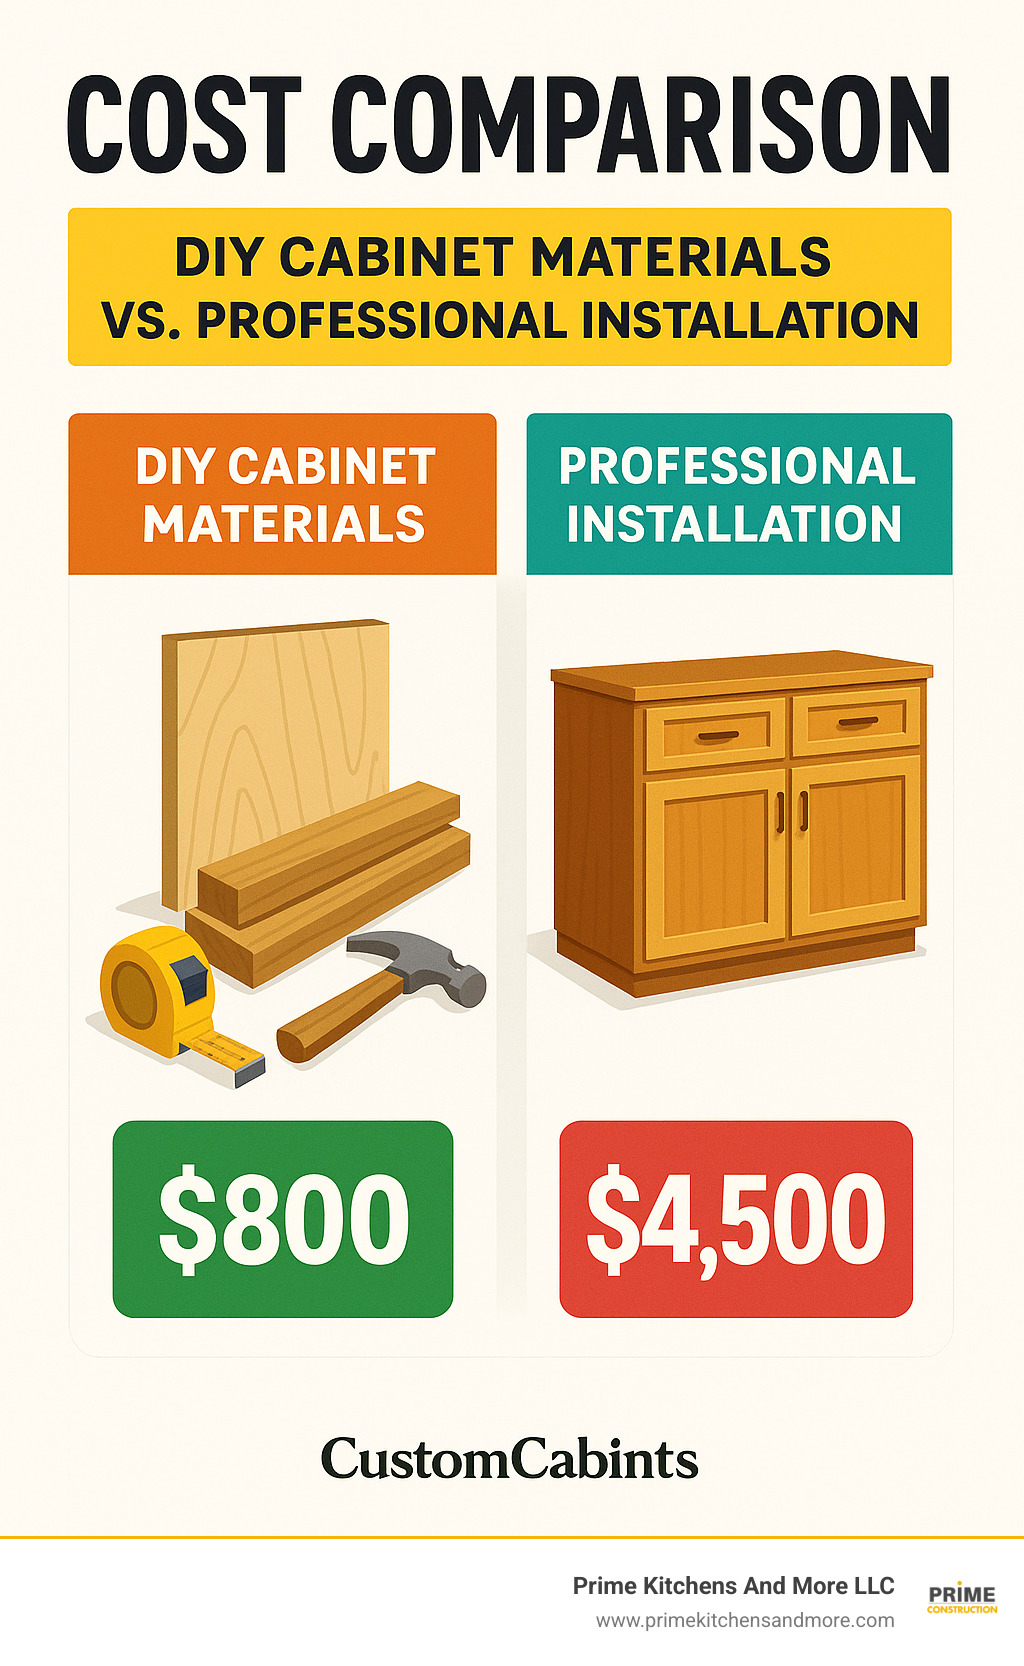
Cost Savings: Materials typically cost $5,000 or less compared to $10,000-$50,000 for professionally installed cabinets.
Time Investment: Plan 2-4 weeks for a full kitchen, working evenings and weekends.
The satisfaction of opening cabinets you built yourself never gets old. As one experienced DIYer put it: “Every time I glance at my own handiwork, I get a little thrill.”
Building custom cabinets isn’t just about saving money – it’s about creating storage that fits your exact needs and space. Orlando’s unique home styles, from mid-century ranches to modern townhomes, often have irregular dimensions that make custom solutions the smart choice.
Standard cabinets leave gaps and waste space. Custom cabinets use 100% of your available wall space and can accommodate Florida’s humidity challenges with proper material selection.
This guide walks you through every step, from measuring your space to installing the final door. You’ll learn professional techniques using tools most DIYers already own or can easily rent.
Quick building custom cabinets definitions:
Why This Guide Matters
We’ve seen countless Orlando homeowners transform their kitchens through DIY cabinetry. The average kitchen remodel can cost $30,000-$50,000, with cabinets making up nearly one-third of that expense. By building your own, you’re not just saving money – you’re gaining valuable skills and creating exactly what your family needs.
Safety First: Always wear safety glasses and ear protection when using power tools. Keep a first aid kit nearby and never rush through cuts. If you’re not comfortable with a particular step, there’s no shame in calling a professional.
Planning & Measuring Your Space for Custom Cabinets
Accurate measurements are the foundation of successful cabinet building. We recommend measuring twice, cutting once – and then measuring a third time just to be sure. Florida homes often have settling issues that create walls that aren’t perfectly plumb or floors that aren’t level.
Start by locating wall studs with a stud finder. Mark them clearly with painter’s tape. Standard stud spacing is 16″ on center, but don’t assume – verify each one.
Standard Cabinet Dimensions:
- Base cabinets: 34.5″ high (for 36″ finished height with countertop)
- Base cabinet depth: 24″
- Wall cabinets: 12″ deep
- Wall cabinet mounting: 18″ above countertop
However, these are just starting points. Custom cabinets let you optimize for your family’s height, storage needs, and space constraints.
The Benefits of Building Custom Cabinets Yourself
The financial benefits are compelling. Our research shows DIY cabinet materials typically cost $40-$120 per cabinet, while professionally installed custom cabinets start at $500 per linear foot. For a typical 10×12 kitchen, you could save $15,000-$30,000.
But the benefits go beyond money:
Perfect Fit: Custom cabinets use 100% of your available wall space. No more awkward gaps or filler strips that collect dust.
Material Choice: You control quality. Choose formaldehyde-free plywood for better indoor air quality, or select specific wood species that match your home’s character.
Customization: Need a 15″ deep cabinet to fit that awkward corner? Want pull-out shelves for your stand mixer? Custom building makes it possible.
Pride of Craftsmanship: There’s genuine satisfaction in using something you built with your own hands. Every time you open a cabinet door, you’ll remember the work that went into it.
Essential Tools & Materials Checklist
Must-Have Tools:
- Table saw or track saw for precise cuts
- Pocket-hole jig (Kreg is the gold standard)
- Drill/driver with bits
- Clamps (you can never have too many)
- Router for edge profiles
- Measuring tools: tape measure, square, level
Safety Equipment:
- Safety glasses
- Ear protection
- Dust mask
- Push sticks for table saw
Materials:
- 3/4″ cabinet-grade plywood (maple or birch work well)
- 1/4″ plywood for backs
- Hardwood lumber for face frames (poplar paints well, oak stains beautifully)
- Wood glue
- Pocket screws (1-1/4″ and 2-1/2″)
- Cabinet hardware
Pro Tip: Buy 10% more material than your cut list shows. Mistakes happen, and wood can have defects you don’t notice until you’re cutting.
Getting Precise Measurements and Layout
Use a laser level to check walls and floors. Mark high and low spots – you’ll need to account for these during installation. Create a story pole (a straight board marked with your cabinet heights) to ensure consistency.
The Work Triangle: Plan your sink, stove, and refrigerator placement carefully. The total distance between these three points should be 12-26 feet, with no single leg longer than 9 feet.
Appliance Allowances:
- Standard dishwasher: 24″ wide x 24″ deep
- Range: 30″ wide (verify your specific model)
- Refrigerator: Measure yours – they vary significantly
Toe-Kick Details: Standard toe-kicks are 4″ high and recessed 3″ from the cabinet face. This improves ergonomics and makes cleaning easier.
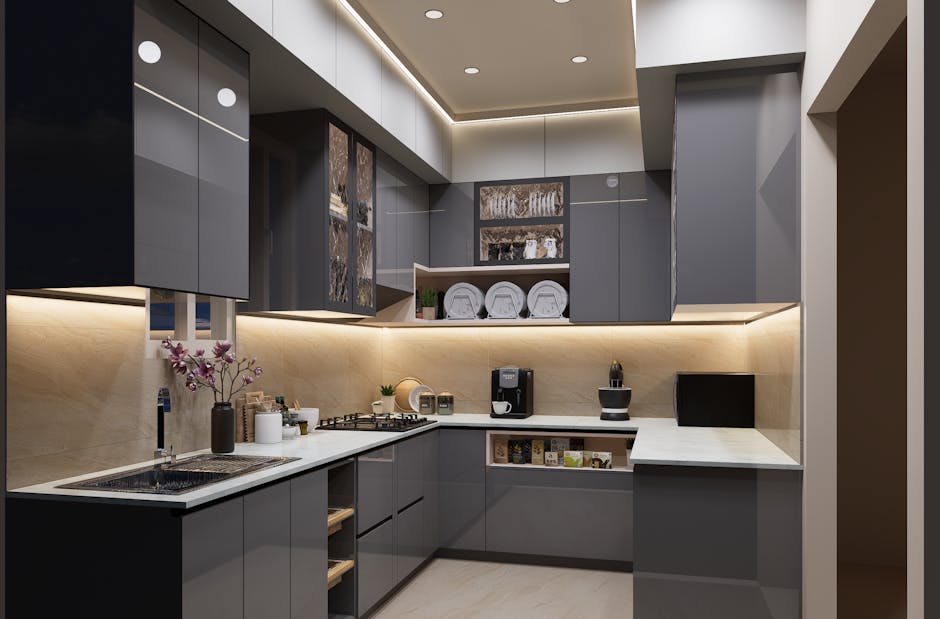
Design Decisions: Face Frame vs Frameless Styles
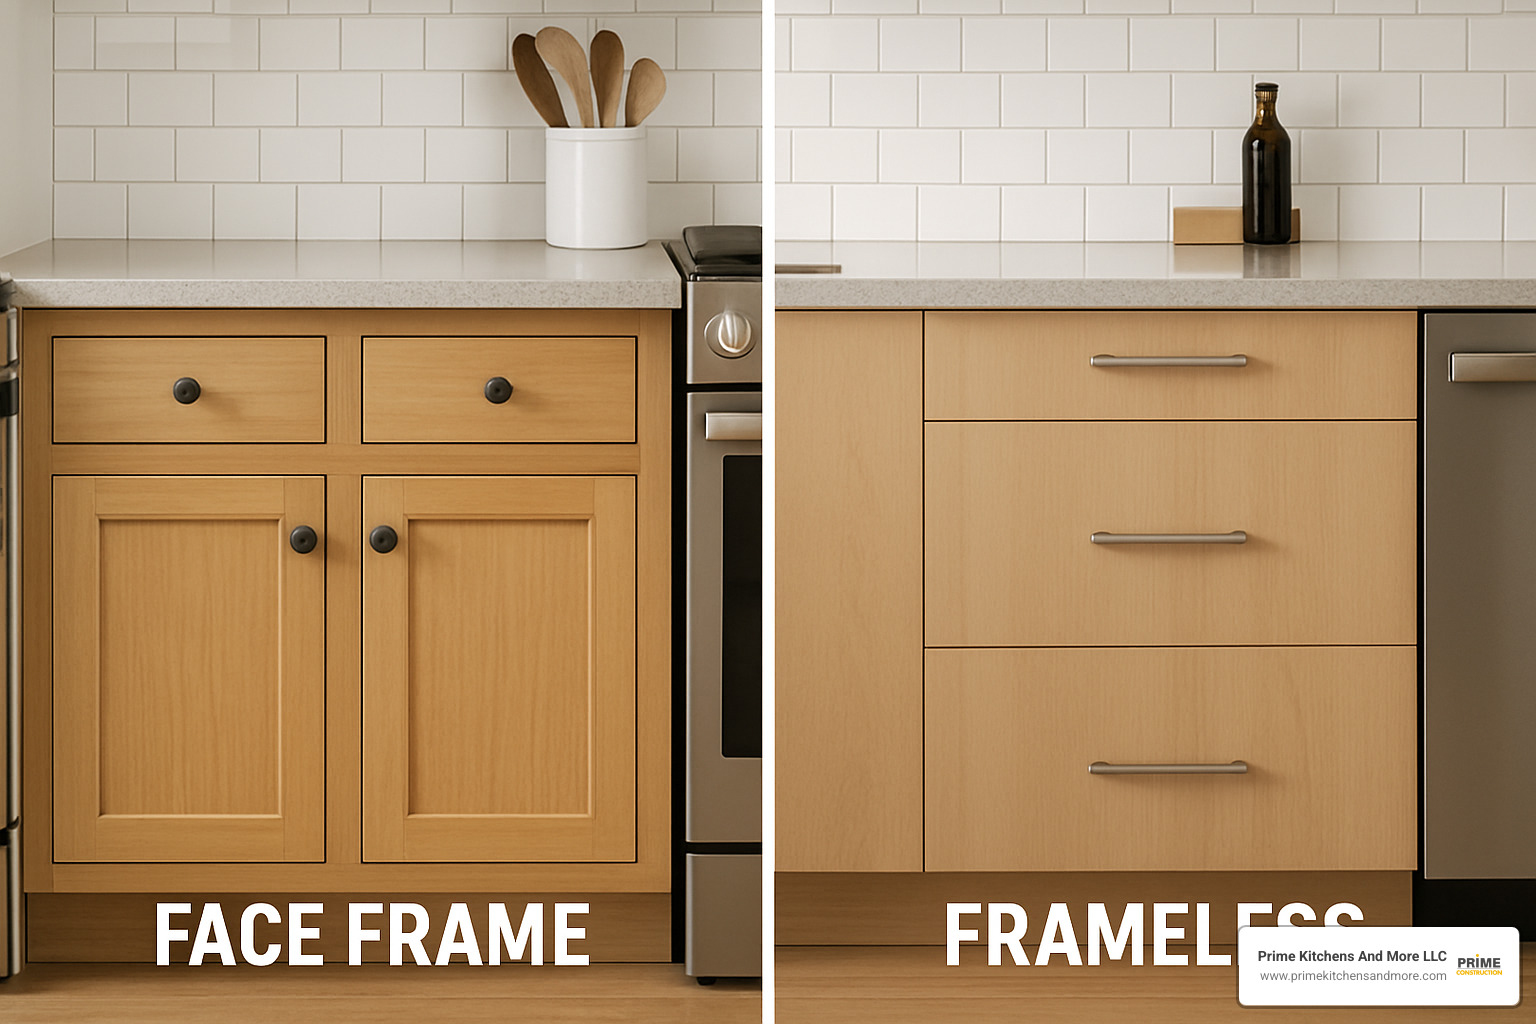
This decision affects both appearance and construction methods. Face frame cabinets have a traditional American look with visible frames around door openings. Frameless (European-style) cabinets offer a cleaner, more modern appearance with slightly more interior space.
Face Frame Advantages:
- Easier to build for beginners
- More forgiving of small measurement errors
- Traditional appearance
- Stronger structure
Frameless Advantages:
- More storage space (about 10% more)
- Easier to install full-extension drawers
- Modern, clean appearance
- Better access to interior
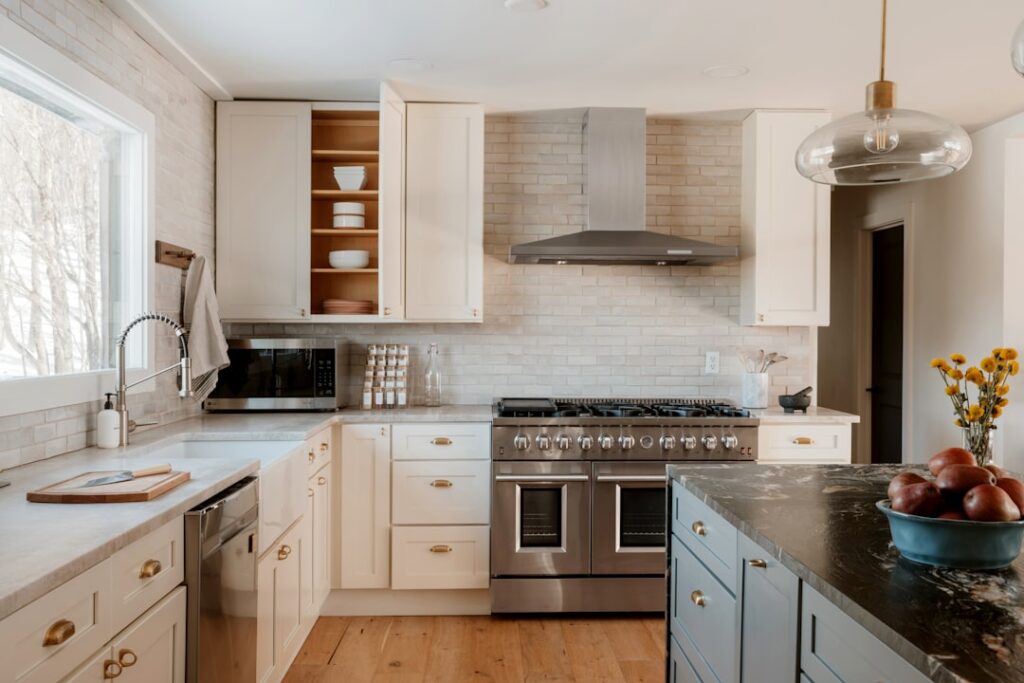
For first-time builders, we recommend face frame construction. The frame covers minor imperfections and provides extra strength during the learning process.
Choosing Wood, Plywood & Sheet Goods
Cabinet Boxes: Use 3/4″ cabinet-grade plywood with a hardwood veneer. Maple and birch are excellent choices – they’re stable, strong, and take finishes well. Avoid construction-grade plywood with voids and patches.
Face Frames: Solid hardwood is traditional and strong. Poplar is affordable and paints beautifully. Oak and maple offer gorgeous grain for stained finishes.
Formaldehyde-Free Options: Look for plywood brands like PureBond that use formaldehyde-free adhesives. This improves indoor air quality – especially important in Florida’s humid climate where homes stay closed up for air conditioning.
Grain Matching: When possible, arrange plywood panels so the grain runs vertically on door stiles and horizontally on rails. This creates a more professional appearance.
Joinery Methods for Lasting Strength
Pocket Holes: The fastest, strongest option for DIYers. A quality pocket-hole jig like the Kreg system creates joints that are plenty strong for cabinet construction. Even without glue, pocket-screw joints hold well, and they’re forgiving of minor errors.
Dowels: Traditional and strong, but requires precise drilling. Consider a doweling jig for consistent results.
Domino Tenons: The Festool Domino system creates incredibly strong joints, but the tool is expensive. Great for professional shops but overkill for most DIY projects.
Dadoes and Rabbets: Cut with a router or table saw, these joints are strong and look professional. They require more precision but create furniture-quality results.
For most DIY builders, pocket holes offer the best strength-to-speed ratio. Latest research on pocket-hole strength shows these joints easily handle cabinet loads when properly made.
Selecting Quality Hardware & Glides
Don’t skimp on hardware – it’s what you’ll interact with daily. Invest in quality drawer slides and hinges.
Drawer Slides: Full-extension, soft-close slides are worth the extra cost. Blum 20″ three-quarter extension glides are industry standard for good reason. They’re smooth, quiet, and durable.
Hinges: European-style concealed hinges are adjustable and create clean lines. Soft-close mechanisms prevent slamming and extend cabinet life.
Shelf Pins: Use metal shelf pins, not plastic. A shelf-pin jig ensures consistent hole placement. Standard spacing is 1-1/4″ on center for flexibility.
Handles and Knobs: Choose styles that complement your home’s architecture. In Orlando’s diverse neighborhoods, we see everything from traditional raised-panel doors with brass knobs to sleek modern handles on flat-panel doors.
Step-by-Step: Building Custom Cabinets from Box to Installation
Now for the fun part – actual construction. We’ll build methodically, starting with the cabinet boxes and working toward the details.
Construction Sequence:
- Cut all plywood parts
- Cut dadoes and rabbets for joinery
- Assemble cabinet boxes
- Build and attach face frames
- Make doors and drawers
- Apply finish
- Install cabinets
- Mount doors and drawers
This sequence minimizes handling and reduces the chance of damage during construction.
Building the Cabinet Box (Carcass)
Start with a cutting list. For a standard 24″ base cabinet, you’ll need:
- 2 sides: 23-1/4″ x 30″ (allows for 3/4″ top)
- 1 bottom: 22-1/2″ x 23-1/4″
- 1 top: 22-1/2″ x 23-1/4″
- 1 back: 24″ x 30-1/2″ (1/4″ plywood)
Dado Cuts: Cut 3/8″ deep dadoes for the bottom panel. Use the toe-kick piece as a fence reference – this automatically positions the dado at the correct height.
Assembly Tips:
- Work on a perfectly flat surface
- Check for square by measuring diagonals
- Use clamps to hold everything while driving screws
- Pre-drill to prevent splitting
Toe-Kick Installation: Cut the toe-kick to 4-1/2″ wide and notch the cabinet sides 4″ high x 3″ deep. This creates the recessed toe space that makes working at counters more comfortable.
Crafting and Attaching Face Frames
Face frames are typically made from 3/4″ thick hardwood. Standard dimensions are 2-1/4″ to 2-1/2″ wide for both rails (horizontal pieces) and stiles (vertical pieces).
Cutting Face Frame Parts:
- Measure directly from the assembled cabinet box
- Cut stiles 1/8″ to 3/16″ longer than the cabinet height
- Cut rails to fit between stiles
Assembly Process:
- Dry-fit all pieces to check fit
- Drill pocket holes on the back of rails
- Apply glue to joints
- Clamp and drive pocket screws
- Check for square and adjust if needed
Attaching to Cabinet Box:
Position the face frame with slight overhang on all sides. This allows for scribing to uneven walls during installation. Use clamps to hold position, then attach with glue and screws from inside the cabinet.
Making Doors, Drawers & Installing Hardware
Door Construction: Frame-and-panel doors are traditional and attractive. Cut stiles and rails with stub tenons on your table saw. A simple groove holds the panel – no need for complex joinery.
Panel Sizing: Cut panels about 1/8″ smaller than the opening to allow for wood movement. In Florida’s humidity, this expansion space is crucial.
Drawer Construction: Use 5/8″ plywood for drawer sides and 1/2″ plywood for bottoms. Dado the bottom groove before assembly – it’s much easier than trying to cut it after the box is together.
Hardware Installation: Use jigs for consistent hole placement. A simple shop-made jig from scrap plywood ensures all handles are perfectly aligned.
Finishing Like a Pro
Surface Preparation: Sand progressively through 120, 150, and 220 grits. Don’t skip grits – it creates more work, not less.
Stain vs Paint: Stain showcases wood grain but requires perfect surface preparation. Paint hides minor imperfections and offers unlimited color options.
Application Tips:
- Remove doors and drawers for finishing
- Use a spray booth or well-ventilated area
- Apply thin coats rather than trying to build thickness quickly
- Sand lightly between coats with 320-grit paper
UV-Resistant Finishes: Florida’s intense sun can fade finishes. Choose UV-resistant topcoats for cabinets near windows.
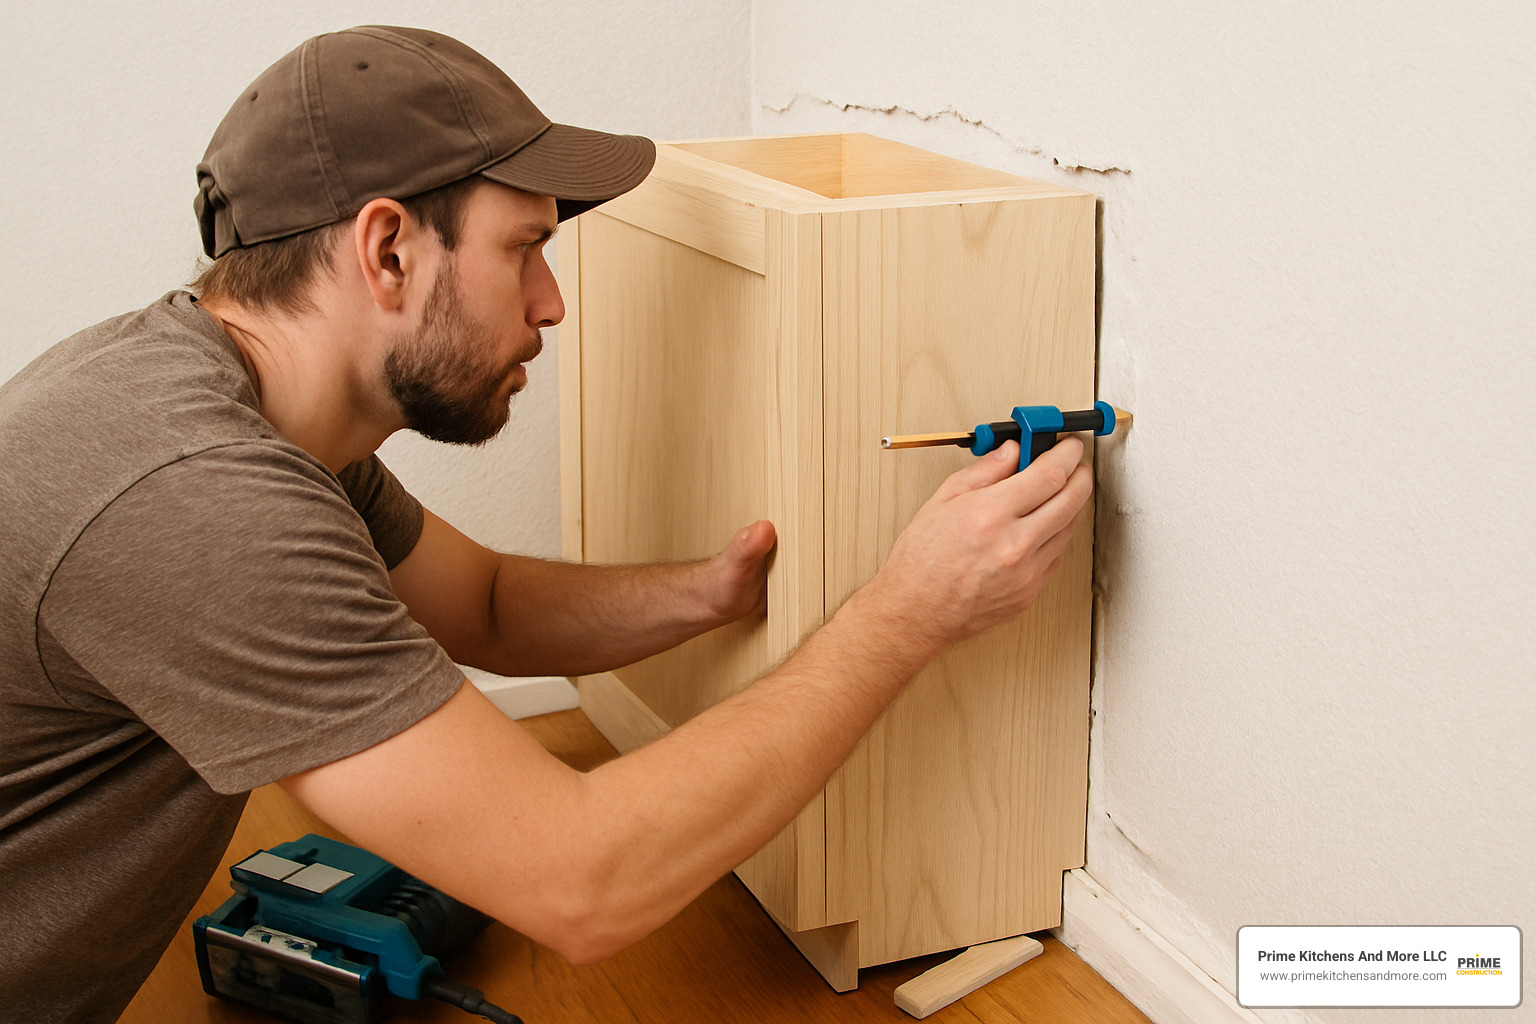
Installing and Leveling Cabinets on Site
Preparation: Locate and mark all wall studs. Install a temporary ledger board to support wall cabinets during installation.
Leveling: Start with the highest point in your room. Use shims to level the first cabinet, then match all others to it. Check both side-to-side and front-to-back level.
Fastening: Use 2-1/2″ cabinet screws into wall studs. Never rely on drywall anchors alone for cabinet support.
Joining Cabinets: Clamp face frames together, check alignment, then screw through the sides to connect adjacent cabinets.
Customizing, Troubleshooting & Avoiding Common Mistakes
Real-world installation rarely goes perfectly. Walls aren’t plumb, floors aren’t level, and corners aren’t square. Here’s how to handle common challenges:
Scribing to Walls: Use a compass or scribe tool to transfer wall irregularities to your cabinet. Cut carefully with a jigsaw, then test-fit and adjust as needed.
Ceiling Slopes: Leave 1″ to 2″ gap at the top of floor-to-ceiling cabinets. Cover with crown molding that follows the ceiling line.
Odd Angles: Under-stair cabinets and angled walls require templates. Make a full-size template from cardboard or thin plywood, then transfer to your cabinet parts.
Common Mistakes to Avoid:
- Not checking square during assembly
- Forgetting to account for door and drawer clearances
- Rushing the measuring process
- Skipping the dry-fit step
- Not pre-drilling screw holes
Error Recovery: Mistakes happen. Small gaps can be filled with wood putty. Larger errors might require remaking a part. Remember – even professionals make mistakes. The key is learning from them.
Budgeting, Savings & Project Challenges
Material Costs: Budget $40-$120 per cabinet for materials. A typical 10-cabinet kitchen costs $800-$1,200 in materials versus $8,000-$15,000 for professionally built cabinets.
Time Investment: Plan 40-60 hours for a complete kitchen. Work in stages – cut all parts one weekend, assemble boxes the next, etc.
Hidden Costs: Don’t forget:
- Sandpaper and finishing supplies
- Hardware (hinges, slides, handles)
- Specialty bits and blades
- Potential tool purchases
Potential Overruns: Always budget 10-20% extra for mistakes, design changes, and unforeseen issues. It’s better to have leftover materials than to stop mid-project.
When to Call In Help
Some aspects of cabinet installation require professional expertise:
Electrical Work: Moving outlets or adding under-cabinet lighting requires a licensed electrician in Florida.
Plumbing Changes: Relocating sinks or dishwashers needs proper permits and professional installation.
Structural Concerns: Removing walls or adding heavy cabinets might require structural evaluation.
Spray Finishing: Professional spray equipment creates superior finishes, especially for painted cabinets.
At Prime Kitchens And More LLC, we often work with DIY enthusiasts who build their own cabinets but need professional help with installation, electrical, or finishing work. There’s no shame in recognizing your limits.
Frequently Asked Questions about Building Custom Cabinets
What are the standard dimensions for base and wall cabinets?
Standard base cabinets are 34-1/2″ high (creating a 36″ work surface with countertop), 24″ deep, and available in widths from 12″ to 48″ in 3″ increments. Wall cabinets are typically 12″ deep and 30″ or 36″ high, mounted 18″ above the countertop.
However, these are just starting points. We regularly build custom cabinets with non-standard dimensions to fit specific spaces or user needs. A 38″ high counter might work better for tall homeowners, while deeper wall cabinets (15″ or 18″) provide more storage in pantry areas.
Which joinery method gives the best strength-to-speed ratio?
For DIY cabinet building, pocket-hole joinery offers the best combination of strength, speed, and forgiveness. Properly made pocket-hole joints are plenty strong for cabinet construction, even without glue. The Kreg pocket-hole system makes consistent, strong joints quickly.
Traditional joinery methods like dovetails or mortise-and-tenon are stronger but require more skill and time. For most DIY builders, pocket holes provide professional results with a manageable learning curve.
How much money can I realistically save by building my own cabinets?
The savings are substantial. Material costs for DIY cabinets typically run $5,000 or less for a complete kitchen, compared to $10,000-$50,000 for professionally installed custom cabinets. Even semi-custom factory cabinets cost $50-$100 per linear foot installed.
However, factor in your time investment. Building cabinets is rewarding but time-consuming. If you value your time at $25/hour and spend 60 hours on the project, add $1,500 to your material costs for a true comparison.
The non-financial benefits – perfect fit, material choice, and pride of craftsmanship – often outweigh pure cost savings for many DIY builders.
Conclusion
Building custom cabinets transforms both your kitchen and your skillset. The process teaches valuable woodworking techniques while creating storage solutions perfectly custom to your family’s needs.
We’ve covered everything from initial planning through final installation. The key is taking your time, measuring carefully, and not being afraid to ask for help when needed.
At Prime Kitchens And More LLC, we’ve spent 15 years helping Orlando homeowners create beautiful, functional kitchens. Whether you’re building cabinets yourself or need professional design and installation, we’re here to help. Our experience with Central Florida’s unique challenges – from humidity effects on wood to the diverse architectural styles in neighborhoods from Winter Park to Kissimmee – ensures your project succeeds.
For those ready to take the next step, consider starting with a simple project like a bathroom vanity or laundry room cabinets. These smaller projects let you practice techniques before tackling a full kitchen.
Remember – every expert was once a beginner. The satisfaction of opening cabinets you built with your own hands never gets old. As you plan your project, don’t hesitate to reach out for professional guidance on design, materials, or installation challenges.
More info about custom kitchen design is available through our consultation services. We’re proud to support DIY enthusiasts and professional contractors throughout Orange County, Seminole County, and the greater Orlando area.
Your dream kitchen is within reach. With careful planning, quality materials, and patience, you’ll create cabinets that serve your family for decades to come. The investment in tools and skills pays dividends on future projects, and the pride of craftsmanship lasts a lifetime.
Start measuring, start planning, and start building. Your perfect kitchen awaits.