
Why Backsplash Installation Transforms Your Kitchen
Backsplash installationis a rewarding DIY project for your Orlando home. It protects walls from splashes and creates a focal point that transforms your kitchen’s look and feel.
Quick Answer for Backsplash Installation:
- Prep– Clean walls, remove outlet covers, gather tools
- Layout– Plan tile pattern, install ledger board for level base
- Tile– Apply adhesive, set tiles with spacers
- Grout– Fill joints, clean excess, remove haze
- Finish– Seal grout, caulk gaps, replace outlet covers
The average cost for a 30-square-foot backsplash is$400 to $1,000, but DIY can save you$150 to $400. It’s anintermediate skill level projectthat usually takes over a day.
Whether you choose subway tile, marble, or mosaics, a well-executed backsplash is a lasting visual element. The key is proper preparation, planning, and patience.

Step 1: Planning, Prep, and Material Gathering
This foundational step ensures your project starts smoothly. Proper preparation is crucial for a professional, long-lastingbacksplash installation. It prevents common issues like running out of materials or finding an uneven wall mid-project.
Choosing the Perfect Tile for Your Space
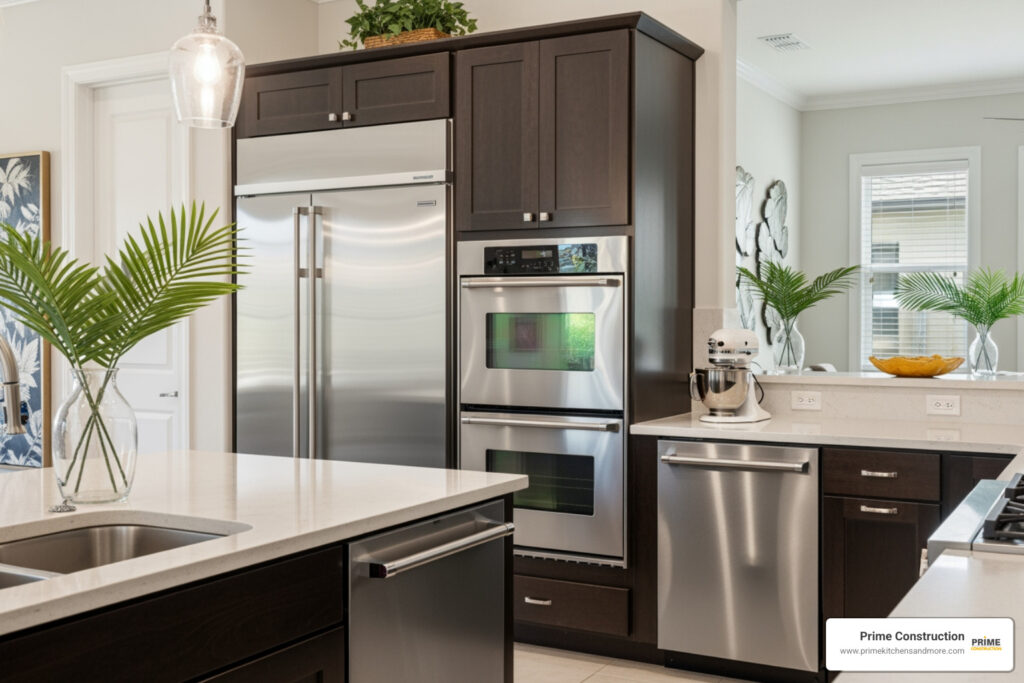
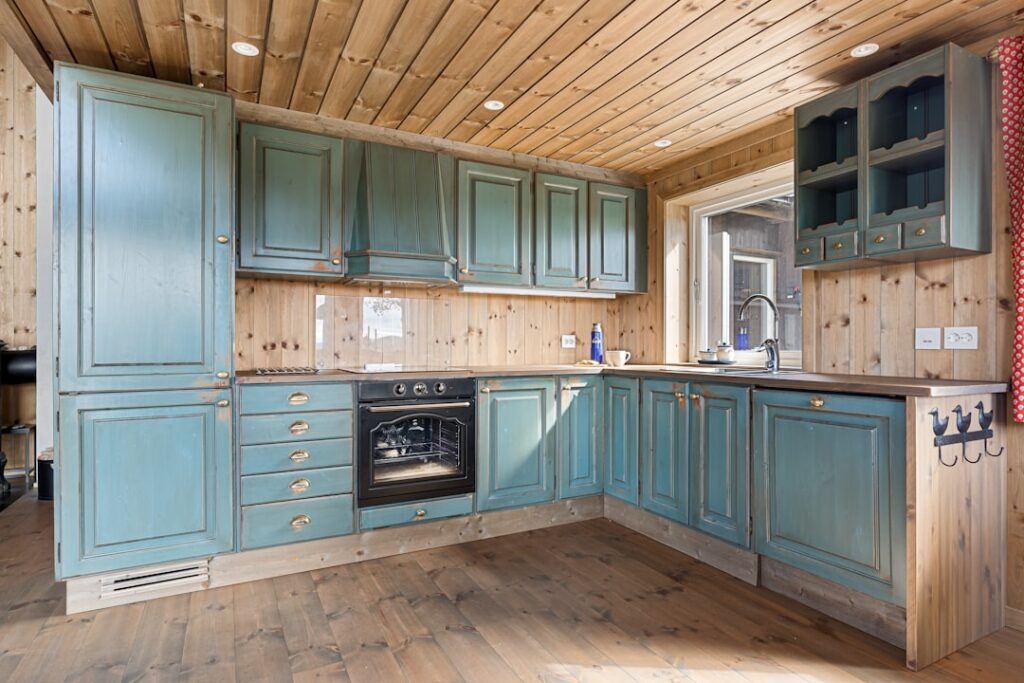
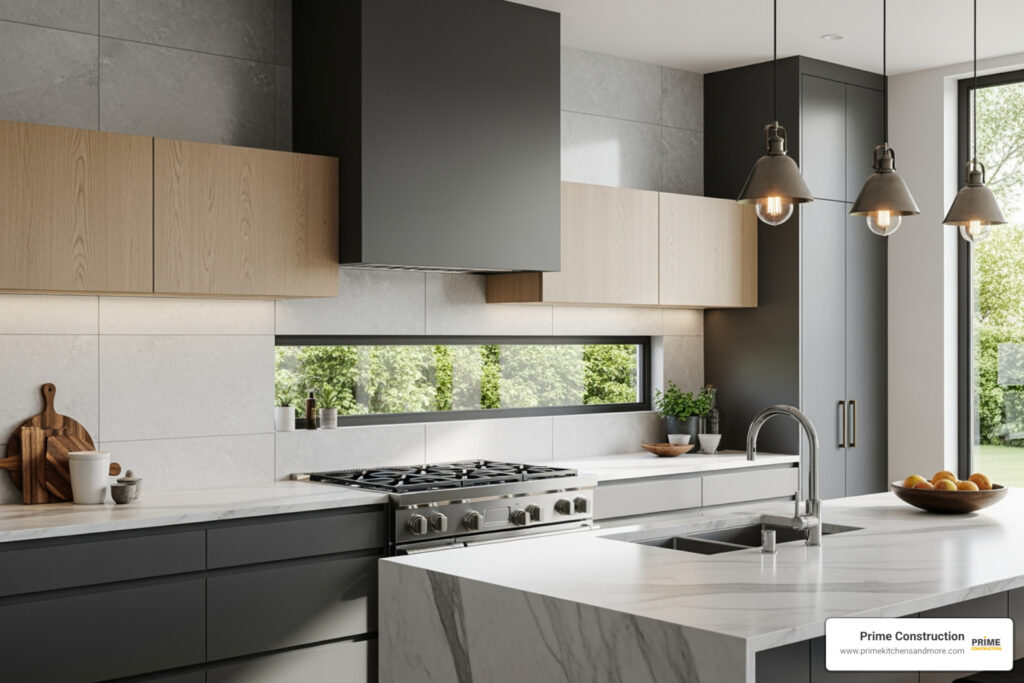
Selecting the right tile for yourbacksplash installationis a key design choice. Consider your existing cabinet colors, countertops, and overall kitchen style to find a tile that complements your space. For example, a light grey-blue tile can create a coastal vibe, while navy and gold accents offer a sophisticated look.
Ceramic tileis popular for being budget-friendly, lightweight, and available in many styles. However, its grout lines can stain, and the tiles may crack if impacted. It’s wise to keep extra tiles for repairs.
Porcelain tileis denser and more durable than ceramic, handling moisture well without needing to be sealed. This saves on maintenance, but it has a higher initial cost and fewer pattern options.
Natural stone tileslike marble or granite offer unique, luxurious character. However, they require more maintenance, as they can scratch, stain from acidic foods, and need annual resealing.
Glass tilesmake kitchens feel brighter and larger by reflecting light and are easy to clean. They require a special adhesive and can be difficult to cut without chipping.
Combination tilesmix materials like glass and stone for endless design options at a reasonable price, though grout lines require attention.
| Tile Type | Pros | Cons |
|---|---|---|
| Ceramic | Easy to install, lightweight, inexpensive, versatile | Grout/tile staining, potential cracking |
| Porcelain | Durable, doesn’t crack easily, no sealing needed, looks expensive | Higher initial cost, fewer unique options |
| Natural Stone | Wide selection, durable, boosts resale value, unique | Scratches easily, needs annual resealing, heat damage, difficult to repair, higher maintenance |
| Glass | Adds depth & shine, contemporary, easy to clean | Can be delicate, requires specific adhesive, prone to chipping during cutting |
| Combination | Unlimited design possibilities, reasonable price | Grout maintenance, slightly more expensive than ceramic |
Always order samples to see how the tile looks in your kitchen’s lighting before committing.
How to Calculate and Gather Your Tools & Materials
Next, calculate your material needs and gather supplies to avoid mid-project store runs. Measure the width and height of each wall section to calculate the square footage.Always add 10% to your totalto account for cuts, waste, and future repairs.
Essential tools include ameasuring tapeandlevel. Atile cutter or wet sawis needed for cuts; manual cutters work for straight ceramic cuts, while wet saws handle harder materials.Tile nippersare essential for cuts around outlets.
You’ll also need anotched trowelto spread adhesive (use the correct notch size for your tile) and arubber grout floatfor grout application. Havelarge sponges and at least two bucketson hand. Other necessary materials includetile spacers,thin-set mortaror adhesive mats,grout,grout sealer, andsilicone caulk.
For safety and prep, you’ll needsafety glasses and gloves,electrical box extenders,joint compound,sandpaper, andTSP cleanerfor degreasing.
Preparing the Wall Surface for Tile
Proper wall prep is critical for a professional-lookingbacksplash installation. A clean, smooth, and stable surface ensures success.

Clear countertops and move appliances. Protect countertops, cabinets, and floors with drop cloths.Safety first: Turn off power to the work area at the circuit breaker. Double-check with a circuit tester, then remove all outlet and switch covers.
Kitchen grease prevents proper tile adhesion. Scrub the walls with a TSP (Trisodium Phosphate) solution to degrease them. Rinse with clean water and let the walls dry completely.
Patch any holes or dents deeper than 1/16 inch with joint compound, then sand smooth once dry. Lightly sand glossy paint to create a rougher surface for the adhesive to grip. Clean, level drywall is usually sufficient, but if your drywall is significantly damaged, replace the affected sections.
Finally, wipe away all sanding dust. Your walls should now be clean, smooth, and ready for tile.
Step 2: Designing the Layout and Dry Fitting
Properly planning your tile layout is the secret to a balanced, high-end look. This ‘dress rehearsal’ step, where you dry-fit the tiles before using adhesive, separates amateur results from professional work. Taking time here prevents mistakes and ensures yourbacksplash installationlooks polished.
Planning Your Tile Pattern and Finding a Centerline
A ‘dry fit’ involves laying out tiles on a flat surface before installation to visualize the final look and identify potential layout issues.
Find your focal point, typically the center of the wall or the area behind the sink or stove. Mark a centerline and work outward for a balanced, symmetrical look.
Lay out your tilesfrom the center point, using spacers to maintain consistent gaps. This dry run helps you spot problems before they’re permanent.
Note where cuts will fall, especially at row ends and around outlets. Avoid narrow tile slivers by adjusting your starting point to ensure cuts are at least half a tile’s width.
Pro tip: Use astory pole(a board marked with tile and grout line measurements) to check the vertical layout against your cabinets and avoid a narrow gap at the top.
Aclassic running bondpattern is beginner-friendly, while aherringbone patternrequires more planning. This phase is crucial for a professional-looking result.
Setting Up a Ledger Board for a Perfectly Level Backsplash Installation
Countertops are rarely perfectly level. Starting tile on an uneven surface leads to a crooked installation. A ledger board is the solution for a straight first row.
Find the lowest pointof your countertop by running a level along its length. From that lowest point,measure up one tile height plus one grout line width. Use a level to draw a horizontal line across the wall. This marks the top of your ledger board.
Cut a straight 1×4 boardto length and screw it to the wall studs, aligning its top edge with your line. This board supports the first row of tiles as the adhesive cures.
The ledger board provides a level foundation for the first row. Without it, imperfections will magnify as you tile upward. You’ll remove it later to tile the bottom row. This extra step is key to a professionalbacksplash installationand prevents crooked results.
Step 3: Adhering and Cutting the Tiles
This is where your design comes to life. Work in small, manageable sections, applying patience and attention to detail for a satisfying result as yourbacksplash installationtakes shape.
Applying Adhesive: Thin-Set Mortar
The right adhesive is crucial. Professionals prefer thin-set mortar for its strong, durable bond.

Thin-set mortaris a cement-based adhesive. Mix it to a smooth peanut butter consistency; if it’s too wet, tiles will slide, and if too dry, they won’t adhere properly. Let it ‘slake’ (rest) for 10 minutes after mixing, then mix again without adding more water.
Work insmall sections(about 2×2 feet), as thin-set begins to skin over in 15-20 minutes. Apply mortar with the flat side of your notched trowel, then comb it at a45-degree angleto create uniform ridges. The ridges ensure a strong bond. When setting a tile, press it in with a slight twisting motion to collapse the ridges and remove air bubbles.
Alternative option: Adhesive mats are a cleaner, peel-and-stick solution ideal for beginners, but they offer less time for tile adjustment.
Usetile spacersfor consistent gaps and leave a 1/8-inch expansion gap between the bottom row and the countertop to prevent cracking. Immediately clean excess adhesive from grout lines with a damp sponge.
For a great selection of tiles and adhesives, you canShop Tile at Home Depot.
How to Accurately Cut Tiles for Your Backsplash Installation
Cutting tiles is straightforward with the right technique. Always measure twice, cut once, and wear safety glasses.
Forstraight cuts, use a manual tile cutter. Score the tile in one smooth, confident motion, then snap it cleanly. A wet saw is invaluable forcomplex cutsaround outlets. The water cools the blade and reduces dust for cleaner cuts. Let the blade do the work; don’t force it.
Foroutlet cutouts, measure and mark the opening on the tile. Use a wet saw for straight lines.Tile nippersare perfect for small adjustments and curved cuts. They ‘nibble’ away small pieces to achieve the perfect fit.Tile nippersare inexpensive and useful for final tweaks.
Time-saving tip: Alwaysdry-fit cut tilesbefore applying adhesive. This check prevents the frustration of having to remove a misplaced tile. Don’t be discouraged if your first cuts aren’t perfect. Even pros recut tiles.
Step 4: Applying and Cleaning Grout
Grouting fills the gaps between tiles, locking them in place and giving your backsplash a clean, finished appearance.
After the adhesive has cured for at least 24 hours (check manufacturer instructions), you can begin grouting. This step in yourbacksplash installationtransforms individual tiles into a cohesive, professional-looking surface. Grout secures the tiles and provides a clean, finished look.
The Correct Procedure for Applying Grout
First, choose the right grout.Unsanded groutis for narrow joints (less than 1/8 inch) and won’t scratch delicate tiles.Sanded groutis for wider joints (1/8 inch or more), as the sand adds strength and prevents cracking.
Follow the manufacturer’s instructions to mix the grout to a thick peanut butter consistency. Only mix what you can use in 20-30 minutes, as it sets quickly.
To apply, scoop grout onto your rubber grout float.Hold the float at a 45-degree angleand press the grout firmly into the joints, working in small, 3-square-foot sections. For professional results, work diagonally across the tiles. This forces grout deep into the joints without pulling it out.
After filling a section, use the float’s edge at a90-degree angleto scrape off excess grout from the tile surface. Work diagonally to avoid pulling grout from the joints. This simplifies cleanup.
Cleaning Excess Grout and Removing Haze
Proper cleanup is key to a professional finish. Take your time during this phase for the best results.

Wait 10-15 minutesafter applying grout for it to firm up slightly before cleaning. Use a large, damp (not wet) sponge towipe the tile surface with diagonal strokes. This removes excess grout and smooths the grout lines.
A common mistake is not rinsing the sponge enough.Rinse your sponge frequentlyin clean water, wringing it out well. Change the water often to avoid spreading a grout film over the tiles. Continue wiping and rinsing until the tiles are clean and the grout lines are smooth.
After several hours, a light film calledgrout hazemay appear. This is normal. After waiting at least 3 hours (or as directed), you can usually buff it off with a dry microfiber cloth.
For stubborn haze, use a specialized grout haze remover, following the product instructions carefully to avoid damaging the grout. Grouting requires patience, but the professional-looking result is worth the effort.
Step 5: Sealing, Caulking, and Finishing Touches
The final details protect your work from stains and moisture, ensuring it looks great for years to come.
You’re almost finished with yourbacksplash installation. These final small steps are what create a truly professional result that will last for years in your Orlando kitchen.
Sealing Grout and Maintaining Your Backsplash
Many people don’t realize that while tile is waterproof, grout is porous. In a kitchen, unsealed grout easily absorbs stains and bacteria from spills. Sealing is a crucial step.
Wait for the grout to curecompletely (24-72 hours) before sealing. Sealing too early traps moisture, which can cause discoloration and weaken the grout.
Once cured,applying grout sealeris simple. Use a spray bottle or small applicator to cover every grout line evenly. The sealer soaks in to create a protective barrier against moisture and stains.Wipe away excess sealerfrom tile surfaces immediately with a clean cloth to prevent a cloudy residue. Follow product instructions, as some sealers may require a second coat.
Forongoing maintenance, clean your sealed backsplash with a mild, non-abrasive cleaner or warm, soapy water. Avoid harsh chemicals. A weekly wipe-down will prevent grease buildup and keep it looking fresh.
Finishing Touches for a Polished Look
These final details lift yourbacksplash installationfrom a DIY look to a professional one.
Caulking expansion gapswhere tile meets countertops and cabinets is essential. Use flexible, waterproof caulk, not rigid grout, which will crack with house movement.
Apply a continuous beadof caulk along the seams.Immediately smooth the caulk linewith a wet finger or caulk tool for a clean, professional finish.
Your new backsplash adds wall thickness, so outlets will be recessed. Useelectrical box extendersto bring them forward, flush with the new tile surface, for safety and a clean look. After installing the extenders,replace the outlet and switch coversto complete the look. Painting the covers to match the tile is an optional touch.
With these finishing touches complete, step back and admire your work. Yourbacksplash installationis now ready to protect and beautify your kitchen while adding real value to your Orlando home.
Frequently Asked Questions about Backsplash Installation
Planning abacksplash installationcan bring up many questions. Here, we answer the most common concerns we’ve heard from Orlando homeowners over our 15 years of experience.
What are the most common mistakes to avoid?
Avoiding these common mistakes will save you time and frustration during yourbacksplash installation.
- Poor wall preparation: Skipping cleaning, patching, or sanding leads to adhesion failure and crooked tiles. Proper prep is essential.
- Starting with a crooked first row: Always use a level ledger board for your foundation. Countertops are rarely level enough to serve as a guide.
- Adhesive application errors: Using too much or too little thin-set creates uneven surfaces or weak spots. Use the correct notched trowel size.
- Ignoring grout haze cleanup: Remove grout haze before it hardens. If left too long, it becomes very difficult to remove.
- Skipping the sealing step: Porous grout and some natural stone tiles will stain without sealer. This step protects your investment from spills.
- Forgetting expansion gaps: Failing to leave gaps where tile meets countertops and cabinets can lead to cracked tiles due to expansion and contraction.
How much does professional backsplash installation cost?
Hiring a pro for yourbacksplash installationis a good choice for complex patterns or tight deadlines. Professional labor typically costs$10 to $30 per square foot. A standard 30-square-foot backsplash installation costs between$400 and $1,000total, depending on project complexity.
Cost factors includetile material(ceramic is cheaper to install than glass or stone) andpattern complexity(a herringbone pattern costs more than a simple running bond).Wall preparation needs, like removing old tile or repairing drywall, will add to the cost.Locationalso affects labor rates, with prices varying by market.

What are the advantages of DIY vs. hiring a professional?
The choice between DIY and hiring a pro for yourbacksplash installationdepends on your skill, time, and project complexity.
DIY advantagesincludecost savings(around $150-$400 in labor),personal satisfaction, andschedule flexibility. However, the project typically takes more than one day.
Professional advantagesincludeexpertise and experience. Pros can solve unexpected problems and work withspeed and efficiency, often finishing in a single day.Guaranteed resultsoffer peace of mind, as professional work often includes a warranty. Pros also haveaccess to specialized tools, saving you the cost of buying or renting them. Finally, hiring a pro reduces thestress factorby letting them handle any complications.
For larger projects or complete kitchen changes, professional expertise ensures everything works together seamlessly. If you’re considering broader updates, explore ourKitchen Remodeling Orlando FLservices or learn aboutKitchen Remodeling Cost Orlandoto help plan your investment.
Transform Your Kitchen with a New Backsplash
Congratulations on completing yourbacksplash installation! By following these 5 steps—planning, layout, tiling, grouting, and finishing—you’ve created a special feature that will transform your kitchen.
Your new backsplash is now a stunning focal point that protects your walls and adds personality and value to your home. Whether you chose subway tile, marble, or mosaics, it’s the new star of your kitchen.
This project shows that with the right guidance and patience, you can achieve professional-looking results. It’s a rewarding DIY project that you’ll be proud to show off.
Of course, DIY isn’t for everyone. If you lack the time or tools, or are planning a larger renovation in Orlando, FL, the experts at Prime Kitchens And More can deliver a flawless, professional finish without the hassle.
With 15 years of experience in kitchen and bathroom design, we use premium materials to bring your vision to life, ensuring high-quality results and customer satisfaction. Investing in our expertise guarantees peace of mind and professional craftsmanship.
Ready to transform your kitchen with a stunning new backsplash?Get a professional quote for your Backsplash Installation in Orlando FLtoday. Let us help you create the kitchen of your dreams without any of the stress or guesswork!