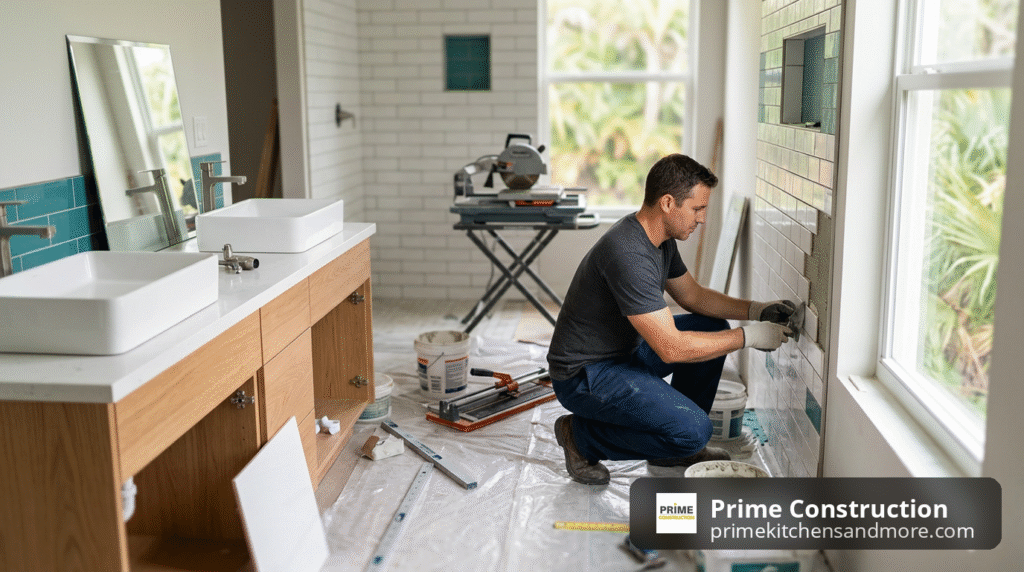
Why Bathroom Vanity Installation Transforms Your Space
Bathroom vanity installation is a highly impactful home upgrade. Whether for a quick refresh or a complete remodel, a new vanity transforms your bathroom’s look and functionality.
Quick Answer: Bathroom Vanity Installation Overview
- Average Cost: $400-$4,000 total (vanity + labor)
- Labor Only: $100-$1,000 depending on complexity
- Installation Time: 3-6 hours for professionals, 6-8 hours DIY
- Key Steps: Remove old vanity → Secure new cabinet → Install top and faucet → Connect plumbing
- Who Can Install: Plumbers, handymen, general contractors, or experienced DIYers
A new vanity isn’t just about aesthetics; it solves real problems. A proper installation delivers:
- More storage for toiletries and towels
- Better organization to streamline morning routines
- Increased home value
- Modern style for a brand-new feel
- Improved functionality with better counter space
The process involves plumbing, wall mounting, and precise measurements, but it’s a manageable project with the right preparation.
This guide covers everything you need to know about bathroom vanity installation, from budgeting and selection to the step-by-step process. We’ll help you decide between DIY and hiring a pro, avoid common mistakes, and ensure your new vanity looks and functions perfectly for years.

Budgeting Your Upgrade: Understanding Vanity Installation Costs
The average cost to install or replace a bathroom vanity ranges from $400 to $4,000, including the unit and labor. A full replacement with new plumbing hookups can range from $665 to $5,000 or more. Labor costs alone can be $100 to $1,000, depending on complexity. Plumbers in our area typically charge $45 to $150 per hour, while handymen might charge $50 to $80 per hour. For more details, see our guide on More info about labor costs.
Several additional costs can arise during a bathroom vanity installation:
- Plumbing Modifications: Moving water lines or drains can cost $450 to $1,800 per fixture.
- Old Vanity Removal and Disposal: This service typically costs between $150 and $400.
- New Sink and Faucet: A new sink can be $40 to $300, with installation adding around $400. Faucets range from $70 to $900.
- Flooring and Trim Adjustments: Repairing the surrounding area due to a different vanity footprint can add $500 to $2,000.
- Backsplash Installation: Adding a backsplash can cost $10 to $50 per square foot, or $500 to $1,700 for the total job.
- Wall Removal: For major reconfigurations, removing a non-load-bearing wall can cost $500 to $2,000, while a load-bearing wall is much more expensive ($4,000 to $15,000).
Prefabricated vs. Custom Vanity Costs
Your choice between a prefabricated and a custom vanity is a major cost driver.
Prefabricated Vanity Prices: These ready-made units are a convenient and accessible option, available in many sizes and styles. They are generally easier to install and may come as a complete set with a sink and countertop. The unit alone typically ranges from $100 to $2,600.
Custom Vanity Costs: For a unique piece built to your bathroom’s exact dimensions, a custom vanity is the ideal choice. The cabinet for a custom-built vanity can range from $3,000 to $4,500, with the unit itself costing $500 to $3,000. Cabinetmaker labor can add another $500 to $2,800. While more expensive, custom vanities offer unparalleled personalization. Learn more about More on custom cabinets.
Key Factors That Influence Price
Several other factors affect the final cost of your bathroom vanity installation:
- Vanity Size: Larger vanities require more materials and labor, increasing the cost. A small 2.5-foot single-sink vanity might be $100-$500+, while a 6-foot option could be $800-$2,100+.
- Vanity Material: Cabinet materials range from budget-friendly MDF and laminate to more durable plywood and solid wood.
- Countertop Material: This is a significant cost factor. We offer many options at Prime Kitchens And More.
- Granite: Durable and unique natural stone, $5-$60 per sq. ft. Learn more about Bathroom Vanity Granite Top.
- Quartz: Engineered for consistency and durability, around $75 per sq. ft. We specialize in Quartz Stone Vanity Top.
- Cultured Marble: An affordable, versatile option at around $65 per sq. ft.
- Concrete: A modern look, priced at $65-$135 per sq. ft.
- Solid Surface (e.g., Corian): Seamless and repairable, costing $42-$65 per sq. ft.
- Composite: Durable and stylish engineered material, $75-$120 per sq. ft.
- Laminate: The most budget-friendly option at around $53 per sq. ft.
- Porcelain or Ceramic Tile: Versatile design, $6.50-$19 per sq. ft.
- Single vs. Double Sink: A double-sink vanity costs more due to the extra sink, faucet, and more complex plumbing.
- Project Complexity: Structural changes, plumbing relocation, or custom work will increase the overall cost.
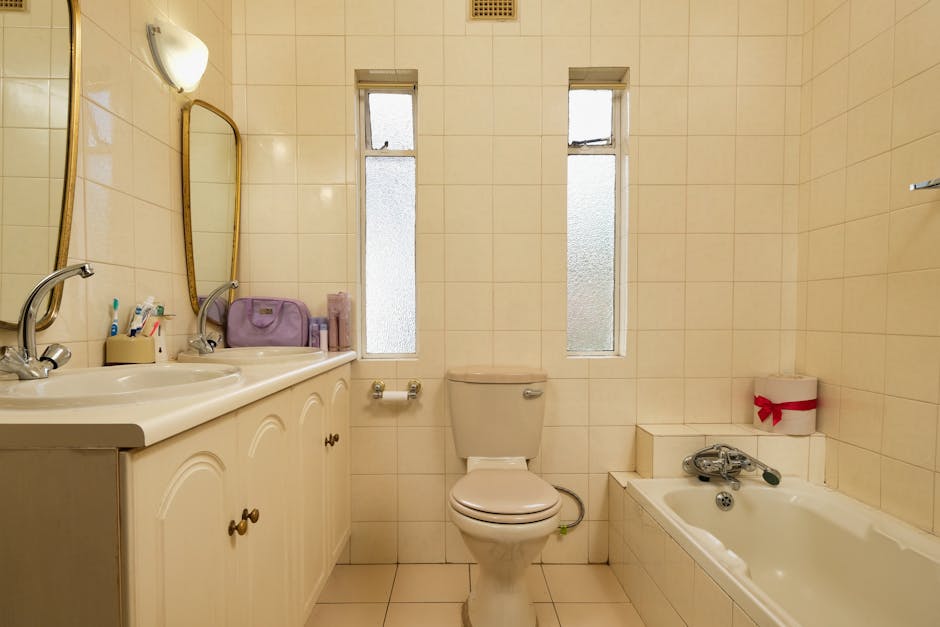
The Perfect Fit: How to Choose Your New Bathroom Vanity
Choosing the right vanity is about blending style and function for your space.

When helping clients in Orlando, we start with these key considerations:
- Bathroom Size and Layout: This is critical. A small powder room may need an 18-inch vanity or pedestal sink to maximize space, while a master bath might fit a 5-foot or double-sink unit. Always measure your space carefully, accounting for door and drawer clearances to avoid fit issues.
- Storage Needs: Assess what you need to store. Vanities come with options from open shelves to multiple drawers and cabinets. For inspiration, see our guide on 5 Bathroom Vanity Cabinet Ideas to Solve Your Storage Woes in Orlando, FL.
- Overall Bathroom Aesthetic: Your vanity should complement your bathroom’s style. Floating vanities suit modern designs, while wood cabinets fit traditional or farmhouse looks. We offer a wide range of Bathroom Vanities Orlando, FL to match any vision.
Vanity and Countertop Materials
The materials you choose impact durability, maintenance, and look.
Vanity Cabinet Materials:
- MDF (Medium-Density Fiberboard): An affordable option, but susceptible to water damage if not well-sealed.
- Plywood: More durable and moisture-resistant than MDF, especially marine-grade plywood.
- Solid Wood: The most durable and often most expensive option; requires proper sealing to prevent warping.
Countertop Materials:
- Granite: A durable, heat-resistant natural stone with a luxurious, unique look.
- Quartz: An engineered stone that is non-porous, stain-resistant, and extremely durable with consistent patterns.
- Marble: Beautiful but softer and more porous than granite or quartz; requires regular sealing to prevent stains and etching.
- Laminate: The most budget-friendly option, available in many styles but less durable.
- Solid Surface: Materials like Corian offer a seamless, non-porous surface that can be repaired.
- Porcelain or Ceramic Tile: Offers design flexibility, but grout lines require cleaning.
Choosing the right material ensures your vanity withstands daily use. We can help you explore options for Bathroom Countertops and Bathroom Cabinets with Countertops in your Orlando home.
A Step-by-Step Guide to Bathroom Vanity Installation
Whether you’re a seasoned DIYer or a beginner, installing your own vanity can be rewarding. This guide will walk you through the process.

Before starting, gather your tools and materials to make the process smoother:
- Tools: Stud finder, level, drill/driver, adjustable wrenches, pliers, utility knife, screwdriver set, pry bar, putty knife, tape measure, safety glasses, caulk gun.
- Materials: New vanity, vanity top/sink, faucet, drain assembly, supply lines, P-trap kit, silicone caulk, plumber’s putty, wood shims, 3-inch drywall screws, bucket, rags.
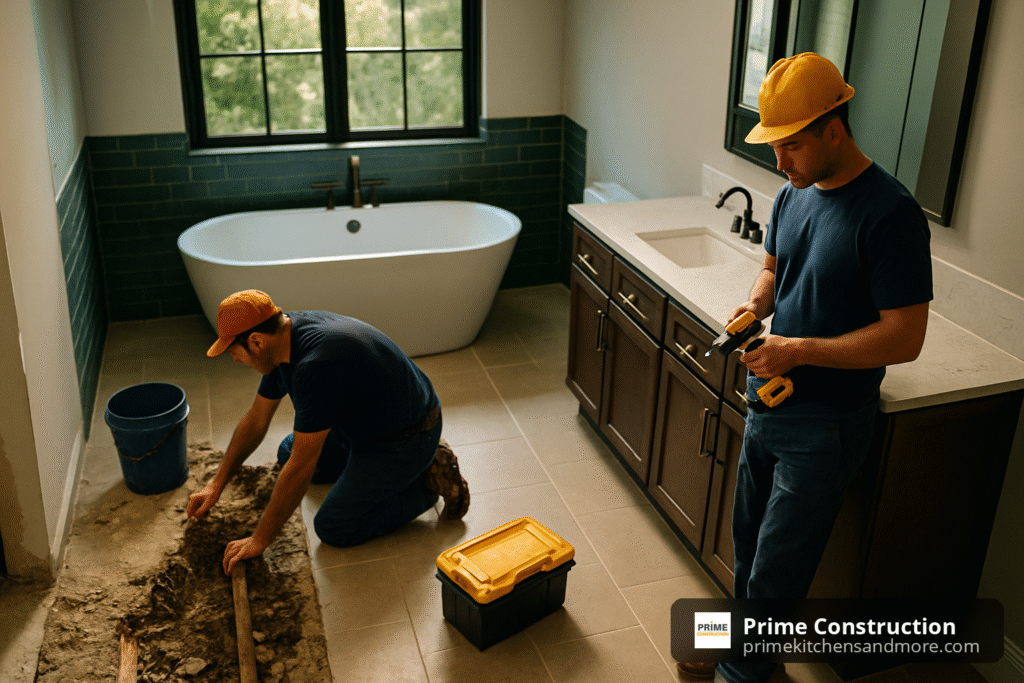
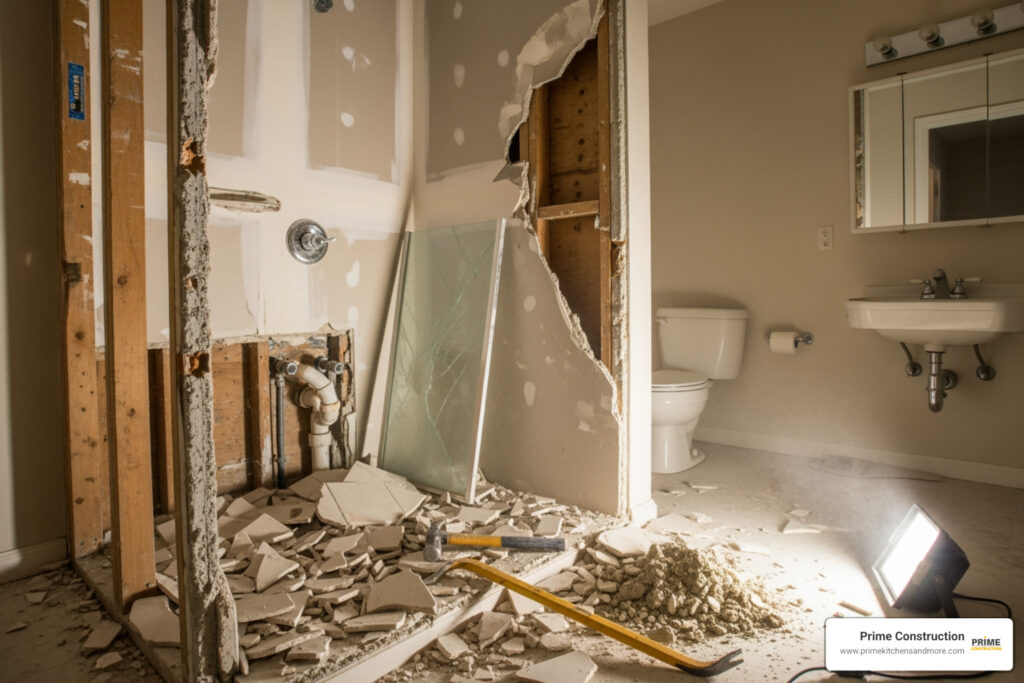
Step 1: Preparation and Removing the Old Vanity
Proper preparation is key to a successful installation.
- Turn Off Water: Close the sink’s shut-off valves (usually underneath) or the main water supply. Test the faucet to confirm the water is off.
- Disconnect Plumbing: Place a bucket under the P-trap to catch water. Use pliers to loosen the slip nuts and detach the P-trap, then disconnect the hot and cold supply lines from the valves.
- Cut Caulk Seal: With a utility knife, cut the sealant where the old vanity top and cabinet meet the wall and floor.
- Remove Old Top: If separate, the top may be glued down. Use a pry bar carefully to lift it without damaging the wall. Get help if it’s heavy.
- Remove Old Cabinet: Find and remove the screws securing the cabinet to the wall. Pull the old vanity away from the wall.
- Prep Wall: This is the best time to repair drywall, patch holes, or paint the wall behind the new vanity. Scrape off any old sealant. For more details, see this guide on How to Install a New Bathroom Vanity and Sink.
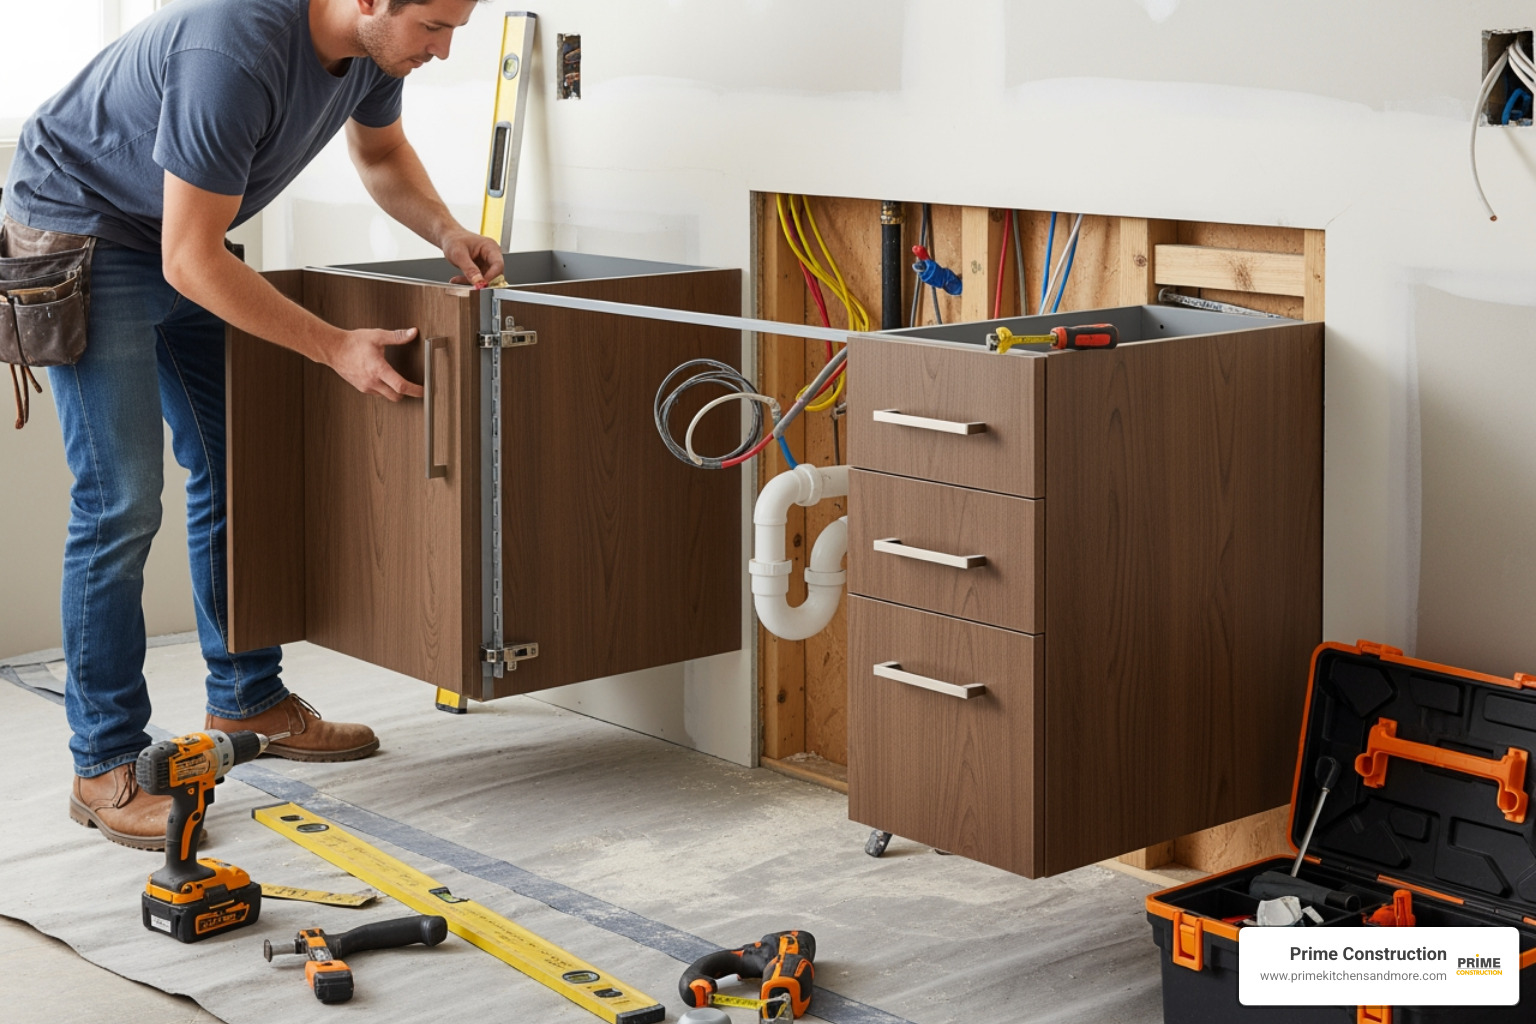
Step 2: Positioning and Securing the New Vanity
Now it’s time to bring in the new vanity.
- Position and Mark: Remove doors/drawers to lighten the cabinet. Place it and check for plumbing alignment. Mark the back panel for any necessary cutouts.
- Mark Stud Locations: Use a stud finder to locate and mark wall studs behind the vanity. Securing to studs is crucial for stability.
- Level the Vanity: Place the vanity and use a level to check it side-to-side and front-to-back. Use wood shims under the base to get it perfectly level, then trim the excess shim material flush.
- Secure to Wall: Drill pilot holes through the vanity’s back mounting rail into the marked studs. Drive 3-inch drywall screws to secure the cabinet firmly to the wall. Even freestanding vanities should be anchored to prevent tipping. A helpful video on how to install a bathroom vanity can provide a visual.
Step 3: Installing the Top, Faucet, and Drain
These finishing touches bring your vanity to life.
- Install Faucet: It’s easiest to do this before setting the countertop. Following the manufacturer’s instructions, install the faucet and attach the supply lines to the top. For tips on stone tops, see our guide to Install Marble Vanity Top.
- Set the Vanity Top: Apply a bead of silicone caulk along the top edge of the cabinet. With a helper, carefully set the top in place and press down firmly. Wipe away any excess caulk.
- Install Drain Assembly: Insert the drain into the sink, using plumber’s putty or the supplied gasket to create a seal. Secure it from underneath with its locknut.
- Connect P-trap: Reconnect the P-trap to the new drain’s tailpiece and the wall pipe. You may need to trim the P-trap pieces for a perfect fit. Hand-tighten the slip nuts, then give them a quarter-turn with pliers.
- Reconnect Water Lines: Attach the supply lines from the faucet to the shut-off valves. Hand-tighten, then give a final snug turn with a wrench.
- Check for Leaks: Slowly turn the water back on. Run the faucet and inspect all connections (faucet, supply lines, drain, P-trap) for drips. Gently tighten any leaks.
- Caulking and Finishing: Apply a neat bead of silicone caulk where the backsplash and countertop meet the wall. Smooth the bead for a clean finish. Clean up and admire your work!
DIY vs. Hiring a Pro: Making the Smart Decision
Deciding whether to DIY a bathroom vanity installation or hire a professional depends on your skill, time, budget, and the project’s complexity.
| Feature | DIY Installation | Professional Installation |
|---|---|---|
| Cost | Saves on labor costs, only pay for materials and tools. | Higher upfront cost due to labor fees ($100-$1,000+). |
| Time | Typically takes 6-8 hours, potentially longer for beginners or complex issues. | Usually 3-6 hours, faster and more efficient. |
| Skill Level | Requires basic plumbing, carpentry, and measuring skills. | Expert knowledge and experience in plumbing, carpentry, and problem-solving. |
| Outcome | Satisfying if done correctly, but higher risk of mistakes, leaks, or damage. | Guaranteed quality, proper installation, often comes with a warranty. |
| Convenience | Requires personal effort, time commitment, and potential trips to hardware store. | Hands-off, less stress, minimal disruption to your schedule. |
| Risk | Higher risk of costly mistakes (leaks, damage, improper leveling). | Lower risk of errors, professionals are insured for damages. |
While a pro takes 3-6 hours, a DIY project can take 6-8 hours or more. Common mistakes include incorrect measurements, improper leveling, overtightening connections, and forgetting to caulk.
Who to Hire for a Professional Bathroom Vanity Installation
If you opt for a pro in the Orlando area, you have several options:
- Plumbers: Best for installations involving significant plumbing changes or if you’re concerned about leaks.
- Handymen: A cost-effective choice for straightforward replacements without major plumbing work.
- General Contractors: Ideal for larger bathroom remodels. A contractor like Prime Kitchens And More manages the entire project.
- Cabinet Installers: These specialists handle the vanity cabinet, but you may still need a plumber for connections. See our Orlando Cabinet Installation Complete Guide for more.
When vetting professionals, always get multiple estimates, check licenses and insurance, read reviews, and ask for a detailed contract.
Common Mistakes in a DIY Bathroom Vanity Installation
Be aware of these common pitfalls to avoid costly errors:
- Improper Measurements: Leads to a poor fit, unsightly gaps, and functional problems.
- Forgetting to Level: Causes water to pool, doors and drawers to hang unevenly, and stress on plumbing.
- Damaging Plumbing: Incorrectly connecting pipes can cause leaks and water damage.
- Not Securing to Studs: A wobbly, unanchored vanity is a safety hazard that could tip over.
- Poor Caulking: Forgetting to caulk allows water to seep behind the vanity, leading to mold and damage.
- Ignoring Building Codes: Check local Orlando codes, as significant plumbing changes may require permits.
- Choosing the Wrong Materials: Prioritize moisture resistance and durability over the lowest price to avoid premature wear.
As Angi notes, DIY is fine for simple swaps, but hiring a pro is wise for projects with plumbing modifications. Learn more at How to Install a Bathroom Vanity and Sink Yourself.
Frequently Asked Questions about Bathroom Vanity Installation
Here are answers to common questions our Orlando clients ask about bathroom vanity installation.
How long does it typically take to install a bathroom vanity?
- Professional Installation: A pro can typically install a vanity in 3 to 6 hours for a straightforward replacement.
- DIY Installation: An experienced DIYer might take 6 to 8 hours. Beginners should plan for more time, possibly a full weekend.
Removing an old vanity, making plumbing adjustments, or leveling an uneven floor can extend the timeline.
Do bathroom vanities need to be anchored to the wall?
Yes. Even freestanding vanities should be secured to the wall for several reasons:
- Stability: Anchoring prevents the vanity from tipping, which is a major safety concern.
- Protecting Plumbing: A stable unit reduces stress on pipes and connections, minimizing leak risks.
- Functionality: A secure, level vanity ensures doors and drawers operate smoothly.
We recommend fastening the vanity’s mounting rail into wall studs using 3-inch drywall screws.
What are the most common additional costs?
Beyond the vanity and basic labor, several other costs can arise during a bathroom vanity installation:
- Plumbing Relocation: Moving pipes to fit the new vanity is often the biggest extra expense, costing $450 to $1,800 per fixture.
- Old Vanity Removal: Hauling away the old unit typically costs between $150 and $400.
- Backsplash Installation: Adding a backsplash can range from $500 to $1,700 for the total job.
- Flooring/Trim Repair: If the new vanity has a different footprint, repairs might be needed, adding $500 to $2,000 to your budget.
- New Sink and Faucet: If not included, a new sink ($40-$300) and faucet ($70-$900) will add to the total cost.
Always factor these potential costs into your budget when planning your project in Orlando.
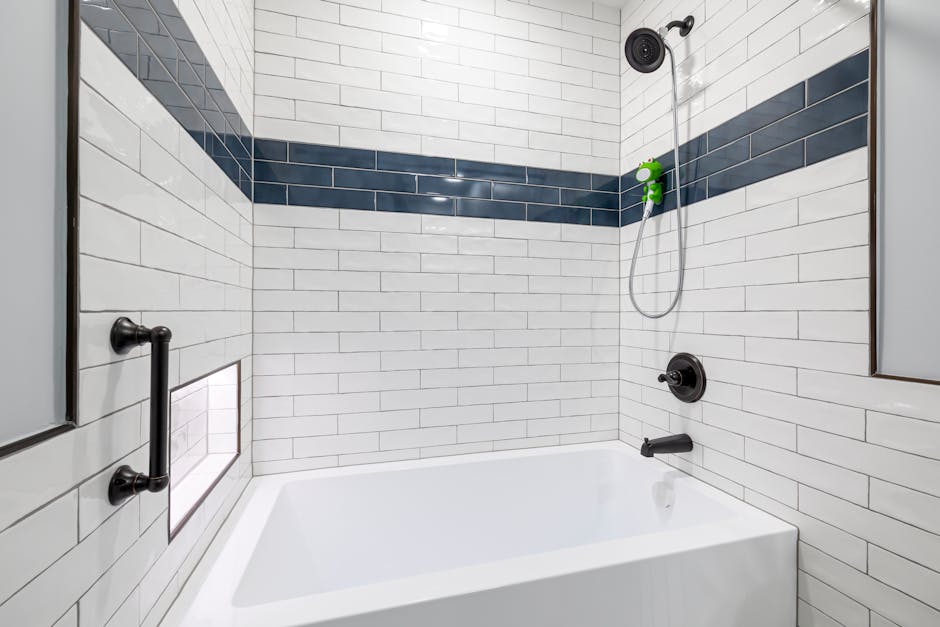
Transform Your Bathroom with a Flawless Installation
A proper bathroom vanity installation is an investment in your home’s comfort, style, and value. The vanity is a centerpiece that provides essential storage and sets the aesthetic tone for the entire room.
Understanding costs, choosing the right unit, and following correct installation steps are crucial. While DIY can be rewarding, hiring a professional can save time, stress, and costly mistakes. Whether you’re in Orlando, Orange County, Seminole County, or a surrounding area, a new vanity will improve your daily routine and update your home.
At Prime Kitchens And More, we pride ourselves on delivering high-quality results and customer satisfaction. We believe every Orlando home deserves a beautiful, functional bathroom.
Ready to change your bathroom? Explore your bathroom countertop options and start planning your upgrade today or contact us for expert Bathroom Vanity Installation Orlando services.