Why Every Orlando Homeowner Should Consider a Dining Table Makeover
When you remodel dining table pieces in your home, you open up incredible value without the hefty price tag of buying new furniture. Here’s what you can achieve:
Quick Answer: How to Remodel Your Dining Table
- Clean and sand the existing finish
- Choose your style – farmhouse, modern two-tone, or bold color
- Apply primer if painting or wood conditioner if staining
- Paint or stain in thin, even coats
- Seal with polyurethane for durability
- Allow proper curing time before use
Total cost: $50-$500 vs. $300-$1,000 for a new table
Your dining table sees daily action – family meals, homework sessions, game nights. Over time, scratches, water rings, and worn finishes make it look tired and outdated. But here’s the thing: refinishing a dining table can increase its lifespan by 10-15 years while costing a fraction of replacement.
The research shows dining table makeover searches have jumped 25% in the past year. Why? Because savvy homeowners found they can transform their space for under $150 instead of spending hundreds on new furniture.
Whether you’re dealing with a hand-me-down piece that doesn’t match your style or a quality table that just needs refreshing, a DIY makeover delivers both satisfaction and savings. You get exactly the look you want while keeping a sturdy, well-built piece out of the landfill.
 versus buying new ($300-1000), including breakdown of materials needed, time investment, and environmental benefits of refinishing existing furniture - remodel dining table infographic comparison-2-items-casual")
Explore more about remodel dining table:
Planning Your Makeover: Style, Supplies, and Strategy
Here’s where the magic begins – choosing your table’s new personality! The best part about deciding to remodel dining table pieces is that you’re not limited by what’s available in stores. You get to create exactly what your heart wants.

Choosing Your New Look
Think of this as your table’s personality makeover. What story do you want it to tell? A cozy farmhouse vibe brings that warm, lived-in feeling with its distressed wood tops and painted white bases. Those little dings and scratches? They become charming character marks instead of eyesores.
The modern two-tone look has stolen hearts everywhere, and for good reason. Picture a crisp white base paired with a rich, dark walnut top – it’s like your table put on its best outfit. This style works magic on even the most tired pieces, changing garage sale finds into showstoppers.
If you’re dreaming of coastal vibes, Hampton style delivers that breezy, sun-kissed feeling. The secret is in the liming white stain that gives wood that beautiful bleached driftwood appearance. It’s like bringing a piece of the beach into your dining room.
For those who love bold statements, industrial design mixing metal-toned legs with chunky wood tops creates serious wow factor. And sometimes? Your table just needs a splash of vibrant color to wake up the whole room. Don’t be afraid to go bold – it’s your table, after all.
Essential Tools and Materials
Getting your supplies ready before you start makes everything flow smoothly. Think of it as setting up your creative workspace – having everything within reach keeps the momentum going. Here’s what you’ll need:
- Safety Gear: Safety goggles and a dust mask are non-negotiable to protect your eyes and lungs.
- Electric Sander: An electric orbital sander like the Ryobi 300W Random Orbital Sander will save you time and effort, delivering professional results.
- Sandpaper: You’ll need various grits, from coarse (80-120 grit) for stripping old finishes to fine (like this Flexovit 240 Grit Sandpaper Roll) for a silky-smooth surface.
- Tack Cloths: These are your secret weapon for achieving a dust-free surface between coats.
- Wood Filler: To repair any scratches, dings, or gouges in the wood.
- Primer: A quality primer is essential to ensure your paint adheres properly and has an even finish.
- Applicators: Choose brushes or foam rollers based on your chosen finish. Synthetic brushes work well for paint, while foam applicators are great for polyurethane.
- Paint or Stain: The star of the show! Select a furniture-grade product that can withstand daily use.
- Protective Topcoat: A durable, water-based polyurethane will seal your work and protect it from spills and scratches.
Having everything ready before you start turns your remodel dining table project from a chore into an enjoyable creative process.
Your Step-by-Step Guide to Remodel a Dining Table
Now comes the exciting part – changing your tired dining table into a stunning centerpiece! Don’t worry if you’ve never tackled a furniture makeover before. We’ll walk through each step together, and before you know it, you’ll be admiring your handiwork over family dinner.
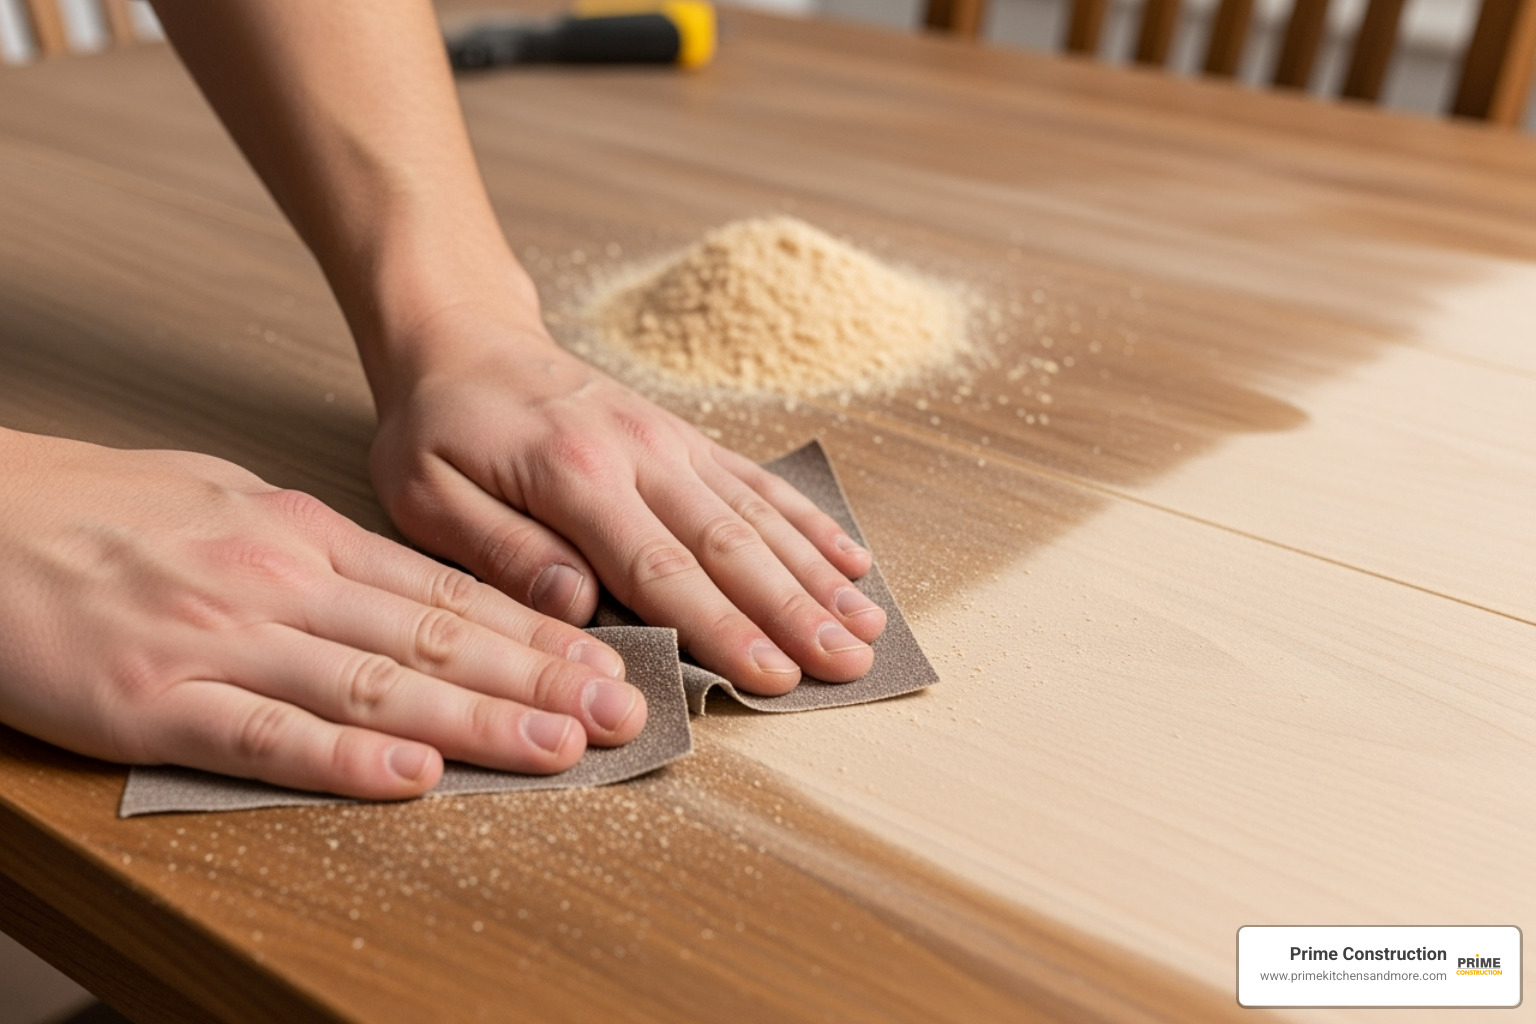
Step 1: Preparation and Sanding for a Flawless Base
Think of this step as laying the foundation for a beautiful home – you wouldn’t cut corners there, and we won’t here either! Proper preparation is what separates a DIY disaster from a remodel dining table success story.
Start by giving your table a thorough cleaning. We’re talking about removing every speck of dirt, grime, and grease buildup. A good degreaser or TSP soap followed by a clean water rinse works wonders. If there’s waxy buildup (and there often is), rubbing alcohol will cut right through it.
Here’s a pro tip that can save you hours of unnecessary work: test a hidden spot first. Sand a small area underneath the tabletop or on an inner leg to see what kind of wood lies beneath that old finish. This little test reveals whether the natural wood tone will work with your vision, or if you’ll need to adjust your plans.

Now for the sanding decision. If you’re planning to paint your table, a thorough scuff sand with 220-grit paper might be enough to create the “tooth” your new paint needs to stick. Think of it as an insurance policy for better adhesion.
But if you want to stain the wood or the existing finish is peeling and damaged, you’ll need to strip it down. Start with coarser 80-120 grit sandpaper to remove the bulk of that old finish. An orbital sander makes this job so much easier – your arms will thank you later!
Work your way up through progressively finer grits: 180, then 220 or 240 for that silky-smooth finish. Always sand with the grain of the wood, not against it. For painted areas you plan to repaint, sand as thoroughly as possible, using a wire brush to get into those tricky crevices.
After each sanding stage, wipe away every bit of dust with a tack cloth. This step is absolutely crucial for a smooth, professional-looking result. Trust us – skipping this leads to a bumpy, disappointing finish.
Step 2: Repairing Imperfections
Every well-loved dining table has its battle scars – scratches from homework sessions, gouges from that time someone got too enthusiastic carving the turkey, maybe even a wobbly leg that’s been driving everyone crazy for years. Now’s the time to give your table some TLC.
For deeper scratches and gouges, wood filler is your best friend. Apply it generously with a putty knife, slightly overfilling the imperfection. This gives you room to sand it down perfectly flush once it’s dry.
Follow the drying time on the product label – patience here pays off big time. Once dry, sand those filled areas smooth with 220-grit paper until they’re perfectly level with the surrounding wood. Don’t forget to wipe away all that dust!
Got a wobbly table? That’s not just annoying – it’s a safety hazard waiting to happen. Check all the leg joints and tighten any loose screws. If glued joints have come apart, you might need to carefully disassemble them, clean out the old glue, and re-glue using wood glue and clamps. Give that glue plenty of time to cure completely.
If your table has a veneer top, you can usually sand and stain it, but be gentle. Veneer is thin, so test an inconspicuous area first to see how much sanding it can handle. If you accidentally sand through it, don’t panic – you can always paint the top instead or get creative with other solutions.
Step 3: Priming and Painting or Staining
Here’s where your vision really starts coming to life! Whether you’re dreaming of a bold painted statement or rich natural wood tones, taking your time with application makes all the difference.

The two-tone technique is incredibly popular for good reason – it instantly modernizes any table. Typically, you’ll paint the base and legs while staining the tabletop. This creates a beautiful contrast that makes even an old hand-me-down look like a designer piece. Just protect the areas you’re not working on with painter’s tape and plastic sheeting.
If you’re painting, especially going from dark to light colors, priming is non-negotiable. Use a quality primer and apply it in thin, even coats. For bases with intricate details, spray primer can give you a smoother finish and save your sanity compared to trying to brush into every nook and cranny.
When it comes to the actual painting, use furniture-specific paint – not just any leftover house paint from the garage. Apply two to three thin coats rather than one thick one. This prevents those dreaded drips and gives you a much smoother finish.
Here’s a trick for super-smooth results: lightly mist your brush with water (especially with chalk mineral paints) and start your brush strokes in the middle of each section, working outward. Keep a “wet edge” by overlapping areas while the paint is still wet.
For staining the tabletop, start with a pre-stain wood conditioner, especially on softer woods like pine. This prevents blotchy absorption and ensures even color. Apply your stain in sections, wiping off excess immediately with a lint-free rag. You can build up deeper color with multiple coats, just allow proper drying time between each one.
For more detailed guidance, check out How to restore wooden furniture – it’s packed with helpful tips.
Step 4: Applying a Durable Topcoat
We’re in the home stretch! The topcoat is what protects all your hard work from daily life – spills, scratches, and enthusiastic dinner conversations. Getting this right means your remodel dining table will look beautiful for years to come.
| Finish Type | Pros | Cons | Best For |
|---|---|---|---|
| Polyurethane | Super durable, resists scratches and water. Water-based dries fast with low odor; oil-based is incredibly tough | Can show brush marks if applied too thick. Oil-based yellows over time | Dining tables (our top pick!) |
| Varnish | Very durable, great moisture protection | Slower drying, needs good ventilation | High-traffic surfaces |
| Wax | Easy to apply, natural soft sheen | Minimal protection, needs frequent reapplication | Decorative pieces only |
For dining tables, we typically recommend water-based polyurethane. It dries faster, has less smell, cleans up with water, and won’t yellow your beautiful white base or light-stained top over time.
The secret to a streak-free finish? Multiple thin coats – usually 3 to 5 – rather than one thick application. Use a foam applicator or quality synthetic brush, applying in long, even strokes with the grain.
Between coats, lightly sand with very fine 220-400 grit paper to remove any dust bumps, then wipe clean with a tack cloth. Here’s a handy trick: store your applicator in a sealed plastic bag between coats to keep it from drying out.
Now for the hardest part – waiting for it to cure. Yes, it might feel dry in a few hours, but polyurethane needs 5-7 days (sometimes more) to reach maximum hardness. Resist the urge to use your table heavily during this time. This patience is what separates a finish that lasts decades from one that shows wear in just months.
Common Mistakes to Avoid in Your Dining Table Makeover
Let’s be honest – we’ve all been there. You’re excited about your remodel dining table project, ready to transform that tired piece into something amazing. But sometimes enthusiasm gets the better of us, and we skip steps or rush through the process. Trust me, I’ve seen (and made!) these mistakes before, and they can turn your dream makeover into a frustrating do-over.
The biggest heartbreaker? Skipping preparation entirely. I can’t tell you how many times I’ve heard from homeowners who jumped straight to painting without properly cleaning or sanding first. That beautiful new paint job starts chipping within weeks because it never had a chance to bond properly. Think of prep work as the foundation of your project – you wouldn’t build a house on shaky ground, right?
Another common stumble is grabbing the wrong type of paint from the hardware store. That leftover wall paint from your bedroom makeover might seem perfect, but dining tables need something much tougher. Regular latex paint just isn’t designed for the daily abuse a dining table takes – hot dishes, spilled drinks, kids doing homework. Stick with furniture-specific paints or durable enamels that can handle real life.
Here’s where patience becomes your best friend: applying coats too thickly or not allowing proper drying time. We get it – you want to see results fast! But thick coats lead to drips, brush marks, and that amateur look nobody wants. Multiple thin coats always win over one thick one. And yes, waiting between coats feels like forever, but rushing this step can cause bubbling, peeling, or a finish that never fully hardens.
I’ve also seen people choose finishes that look gorgeous but aren’t practical. Wax might give you that beautiful, soft sheen, but it offers almost zero protection against water rings from your morning coffee mug. For a surface that sees daily action, you need something bulletproof like polyurethane.
Finally, don’t ignore what your wood is trying to tell you. If you’re planning to stain, take time to understand what type of wood you’re working with. Pine can get blotchy without a pre-stain conditioner, while oak’s bold grain patterns might clash with your vision. That’s why testing a hidden spot first is so important – it saves you from any unwelcome surprises when you’re halfway through the project.
The good news? Now that you know these pitfalls, you can sidestep them completely and create a dining table makeover you’ll love for years to come.
Frequently Asked Questions about Dining Table Remodels
Let’s be honest – when you’re planning to remodel dining table pieces, questions pop up faster than paint bubbles on a humid day! We’ve helped countless Orlando homeowners through their first (and second, and third!) table makeovers, so we know exactly what keeps you up at night wondering.
Here are the answers to the questions we hear most often, straight from our experience in the trenches.
How do you remodel a dining table with a veneer top?
Ah, the veneer question! This one makes a lot of folks nervous, but don’t worry – veneer tables can absolutely get a gorgeous makeover. The trick is treating that thin wood layer like the delicate beauty it is.
Start with a test spot – and we mean it. Find a hidden area under the table or along an edge where you can do a little detective work. Sand gently with 220-grit sandpaper to see how thick that veneer actually is. Some are paper-thin, others are surprisingly robust.
Keep your touch light when sanding. Think gentle massage, not aggressive scrub. If you’re planning to stain, you’ll need to be extra careful not to sand through to whatever’s underneath (trust us, that substrate rarely looks pretty). For painting, you have a bit more wiggle room, but still keep it gentle.
Painting veneer is often your safest bet. After a light scuff sand and thorough cleaning, prime it well and paint away. This approach hides any little imperfections and gives you complete control over the final look.
If your veneer has seen better days – maybe it’s bubbling or peeling – get creative! We’ve seen stunning changes using contact paper that looks like marble, or even decorative vinyl tablecloths applied with decoupage techniques. Sometimes the “problem” becomes the inspiration for something even better.
How do you get a super smooth, professional-looking finish when you remodel a dining table?
This is the million-dollar question, isn’t it? That smooth-as-glass finish that makes people ask, “Did you really do this yourself?” Here’s our tried-and-true approach that works every single time.
Preparation is everything – and we mean everything. Start with a spotless, grease-free surface. Then sand methodically through your grits: 80 to 120, then 180, finishing with 220 or even 240-grit. Each step removes the scratches from the previous one.
Become obsessed with dust removal. After every single sanding step, wipe down with a tack cloth. Any dust left behind will create bumps in your finish – and trust us, you’ll see every single one when the light hits just right.
Think thin coats, always. Whether it’s primer, paint, or topcoat, multiple thin applications beat one thick coat every time. Thick coats drip, show brush marks, and take forever to cure properly.
Invest in quality tools. Good synthetic brushes for water-based products, foam applicators for topcoats, or even spray paint for legs and bases can transform your results. The right tool makes the technique so much easier.
Between coats, give everything a whisper-light sand with 220 to 400-grit paper. This levels out any tiny imperfections and helps the next coat stick beautifully. Always wipe clean afterward.
Master the wet edge technique when painting. Work quickly enough that you’re always painting into wet paint, never onto dried edges. This keeps everything seamless and professional-looking.
How long should I wait before using my newly remodeled dining table?
Oh, this is the hardest part of the whole project! Your table looks absolutely stunning, and you’re dying to show it off at dinner tonight. But here’s the thing – patience now means years of durability later.
“Dry to touch” and “ready for dinner” are completely different things. Your finish might feel dry in a few hours, but it’s still soft and vulnerable underneath.
For light use – maybe setting a small decorative item or very gently placing something down – you might get away with 24 to 48 hours. But honestly, we’d rather you wait longer if possible.
For real dining table action – hot plates, homework sessions, family game night – wait a full 5 to 7 days minimum. Some finishes need even longer, especially in humid Orlando weather. This curing time lets your protective topcoat reach its full hardness and scratch resistance.
We know it’s tough to wait when you’re excited about your beautiful new table. But think of it this way – you’ve invested all this time and effort into creating something amazing. A few extra days of patience means you’ll be enjoying that table for years to come instead of touching up scratches next month.
Pro tip: Use this waiting time to plan your first dinner party on your gorgeous “new” table. The anticipation makes that first meal even sweeter!
Conclusion: Enjoy Your ‘New’ Table and Plan Your Next Project
Take a step back and admire what you’ve accomplished! You’ve successfully transformed a tired, outdated piece into a stunning centerpiece that perfectly reflects your personal style. When you remodel dining table pieces yourself, there’s a special kind of satisfaction that comes from seeing your vision come to life through your own hands.
The numbers speak for themselves – you’ve likely saved hundreds of dollars compared to buying new furniture. More importantly, you’ve extended your table’s life by 10-15 years and kept a perfectly good piece out of the landfill. That’s a win for your wallet and the environment.
Your friends and family are going to be amazed when they see the change. There’s something magical about gathering around a table that tells a story – your story of creativity, patience, and craftsmanship. Every meal shared at this table will carry a little extra meaning knowing you brought it back to life.
Maybe this project has sparked something bigger in you. Perhaps you’re looking around your home with fresh eyes, wondering what other changes are possible. If you’re in Orlando, FL, Orange County, Seminole County, or the surrounding Central Florida areas, you might be dreaming of larger projects to complement your beautiful new dining space.
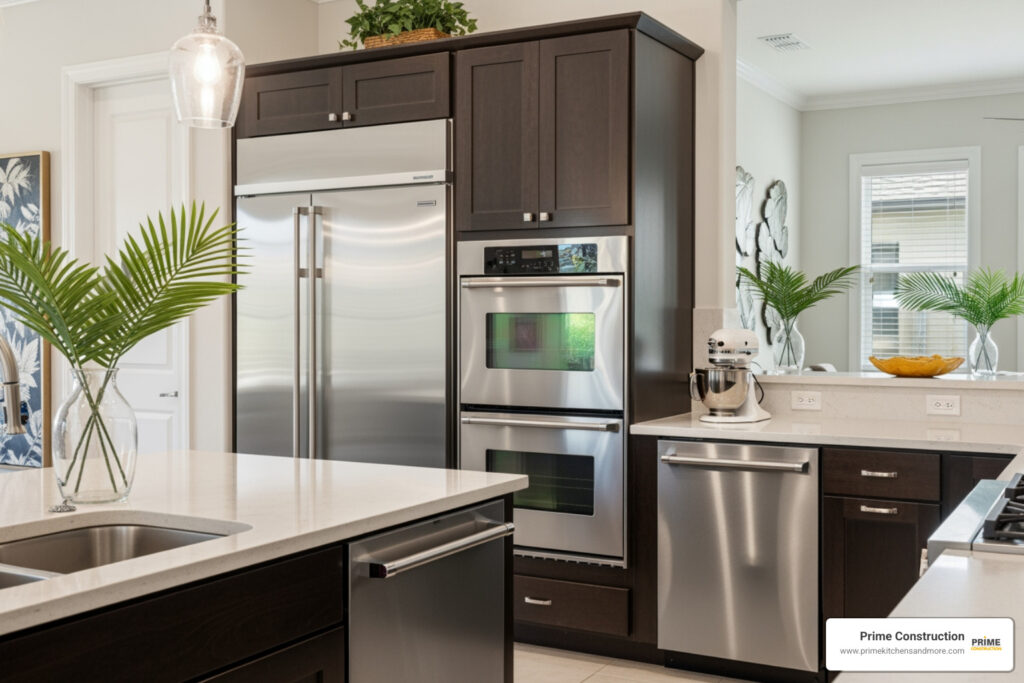
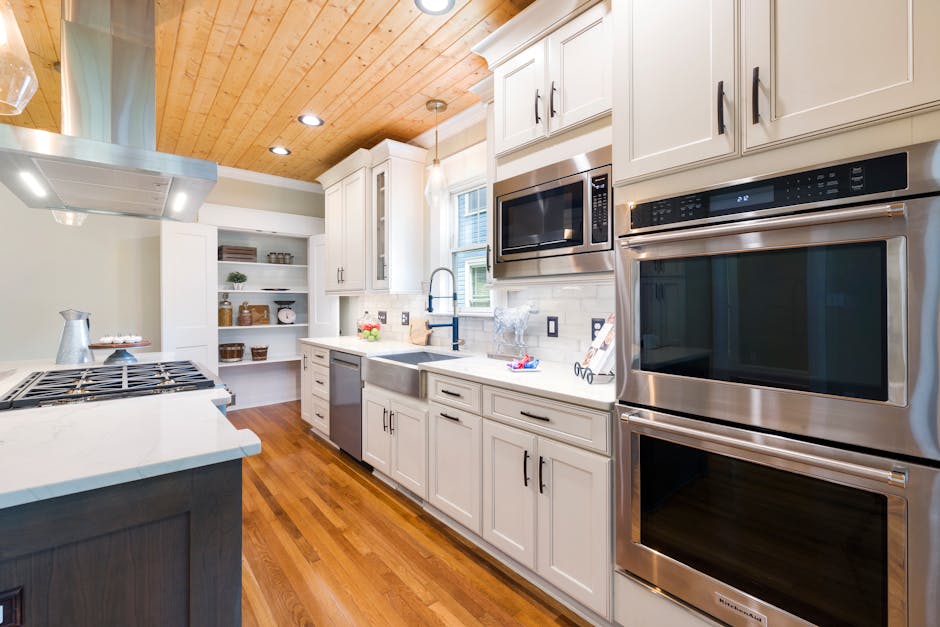
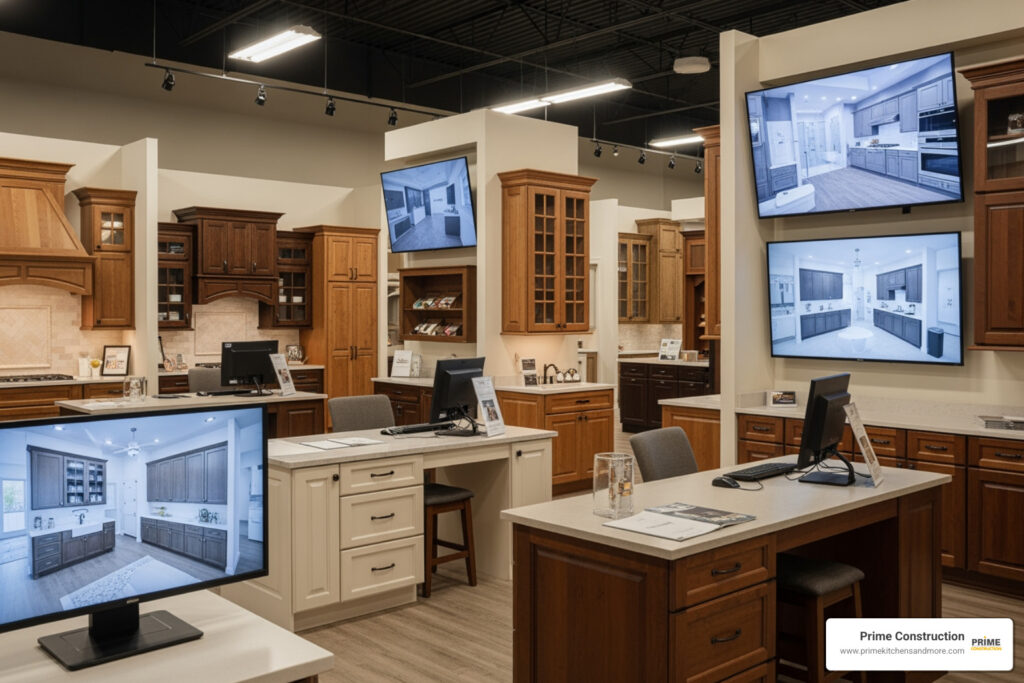
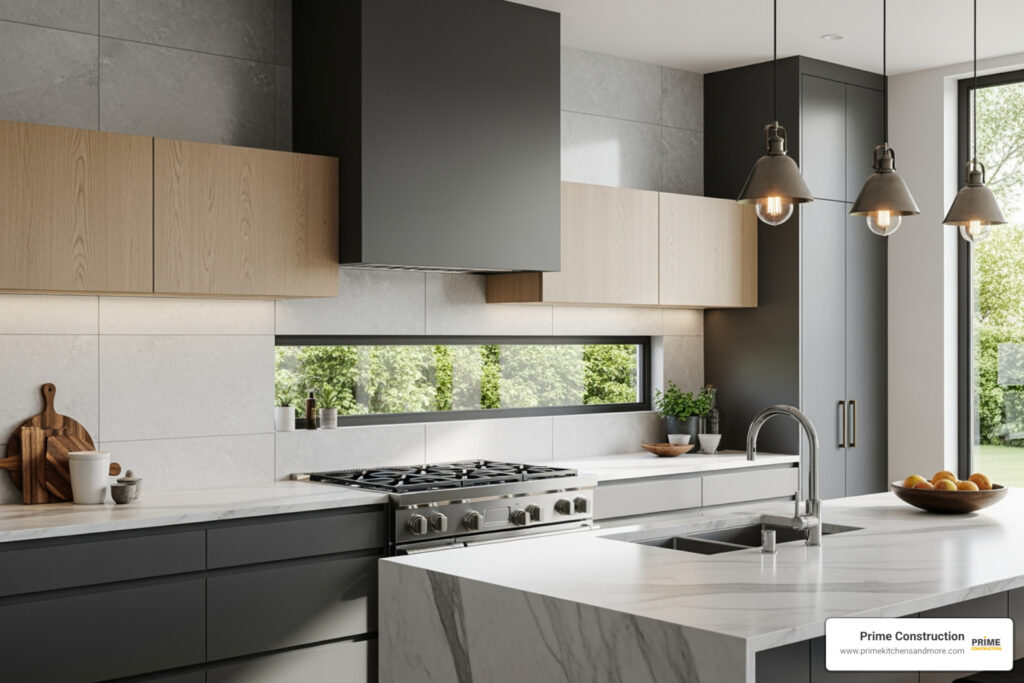
A full kitchen remodel could be the perfect next step to match the style and energy of your refreshed dining area. When projects get bigger and more complex, having experienced professionals on your side makes all the difference.
At Prime Kitchens And More, we bring 15 years of experience to every project, specializing in full house remodeling with a particular focus on kitchen and bathroom design. We use premium materials and offer personalized service to ensure your vision becomes reality – on time, on budget, and without the stress.
Ready to explore bigger possibilities? Explore our Orlando kitchen remodeling services and let’s discuss how we can help turn your next home improvement dream into reality.
For now though, enjoy every moment around your “new” table. You’ve earned it!